crwdns2933423:0crwdne2933423:0

Reemplazo de teclado para MacBook Air de 13 pulgadas, mediados de 2012

crwdns2936315:0crwdne2936315:0
crwdns2936331:0crwdne2936331:0
crwdns2931653:05crwdne2931653:0
MacBook Air 13" Mid 2012 Keyboard Replacement, Remove any remaining rivets & dirt: crwdns2935265:00crwdnd2935265:01crwdnd2935265:03crwdne2935265:0 MacBook Air 13" Mid 2012 Keyboard Replacement, Remove any remaining rivets & dirt: crwdns2935265:00crwdnd2935265:02crwdnd2935265:03crwdne2935265:0 MacBook Air 13" Mid 2012 Keyboard Replacement, Remove any remaining rivets & dirt: crwdns2935265:00crwdnd2935265:03crwdnd2935265:03crwdne2935265:0
Remove any remaining rivets & dirt
  • Once we have successfully ripped out the keyboard we will have to remove all the remains from the rivets from the casing. This is not as daunting as it seems, and can take just a few minutes to complete.

  • Place the empty top case on a cloth to prevent any scratches & position it against a wall. This way the case CANNOT move while we PUNCH OUT the rivets. Avoid if possible placing it against kitchen tiles as they could easily get cracked when we are punching against them!

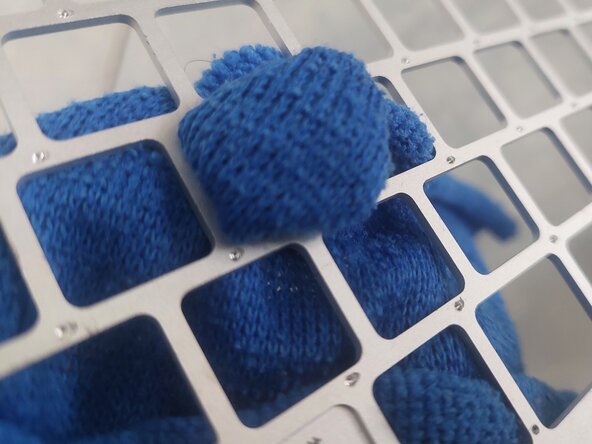
  • Using a flat edged tool such as a scraper, we lay the tool as flat as we can as not to cut into the casing itself and put it to the rivets and just punch them out. It is possible to get 2 or 3 out with each hit and sometimes more.

  • Some may suggest to grind of the old rivet heads with a grinder, but this takes way to long to do and may hinder removing the remaining parts of the rivets as they may become to shallow. The aim is to get the rivets to pop out leaving behind a hole in which to screw into.

  • You will notice that when the rivets fly out they will leave a perfectly sized hole for all the tiny screws that we must use to firmly secure the keyboard to the case.

  • Double check that ALL of the rivets have been successfully removed. A good idea is to run your finger where all the rivets once were to check everything is nice and smooth and that the holes are clean and ready to house a screw, otherwise the new keyboard will not sit tightly in the casing.

  • * If in the worst case scenario some of the rivets have remained and have not fully popped out of their hole or have been sheered off, we may need to use a tiny thin drill bit to drill a hole, but take care to go no deeper than 1mm, otherwise we may risk drilling right through to the other side of the case.

  • * It is also a good time to get a cloth and give a good clean out of the key holes on the casing as they are prone to collect dirt or debris from sticky fingers in the past.

Una vez que hayamos extraído el teclado, tendremos que retirar todos los restos de los remaches de la carcasa. Esto no es tan complicado como parece y solo toma unos minutos.

Coloque la maleta superior vacía sobre un paño para evitar rayones y colóquela contra la pared. De esta manera, no se moverá mientras perforamos los remaches. Evite, en lo posible, colocarla contra los azulejos de la cocina, ya que podrían agrietarse fácilmente al golpearlos.

Usando una herramienta de borde plano, como un raspador, la colocamos lo más plana posible para no cortar la carcasa, la colocamos sobre los remaches y los perforamos. Es posible extraer dos o tres con cada golpe, y a veces más.

Algunos sugieren lijar las cabezas de los remaches viejos con una amoladora, pero esto lleva mucho tiempo y puede dificultar la extracción de las partes restantes, ya que pueden quedar demasiado superficiales. El objetivo es que los remaches salgan, dejando un agujero para atornillar.

Notarás que cuando los remaches salgan dejarán un agujero de tamaño perfecto para todos los pequeños tornillos que debemos usar para asegurar firmemente el teclado a la carcasa.

Verifique que todos los remaches se hayan quitado correctamente. Una buena idea es pasar el dedo por donde estaban los remaches para comprobar que todo esté bien y que los orificios estén limpios y listos para colocar un tornillo; de lo contrario, el nuevo teclado no quedará bien ajustado en la carcasa.

* Si en el peor de los casos algunos remaches han quedado y no han salido completamente de su agujero o se han cortado, es posible que tengamos que usar una broca fina y pequeña para perforar un agujero, pero teniendo cuidado de no profundizar más de 1 mm, de lo contrario podemos correr el riesgo de perforar hasta el otro lado de la caja.

* También es un buen momento para conseguir un paño y limpiar bien los orificios de la llave en la carcasa, ya que son propensos a acumular suciedad o residuos de dedos pegajosos en el pasado.

crwdns2944171:0crwdnd2944171:0crwdnd2944171:0crwdnd2944171:0crwdne2944171:0