crwdns2933423:0crwdne2933423:0

HP EliteBook 840 G7 / Aero G8 – Display-Panel entfernen

crwdns2931529:0crwdnd2931529:0crwdnd2931529:0crwdnd2931529:05crwdnd2931529:0crwdne2931529:0

crwdns2936315:0crwdne2936315:0
crwdns2936319:0crwdne2936319:0
crwdns2931653:05crwdne2931653:0
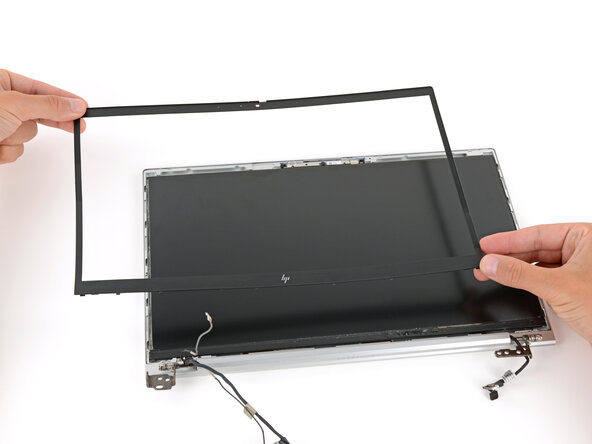
HP EliteBook 840 G7/Aero G8 Display Panel Removal, Remove the bezel: crwdns2935265:00crwdnd2935265:01crwdnd2935265:03crwdne2935265:0 HP EliteBook 840 G7/Aero G8 Display Panel Removal, Remove the bezel: crwdns2935265:00crwdnd2935265:02crwdnd2935265:03crwdne2935265:0 HP EliteBook 840 G7/Aero G8 Display Panel Removal, Remove the bezel: crwdns2935265:00crwdnd2935265:03crwdnd2935265:03crwdne2935265:0
Remove the bezel
  • Once a portion of the bezel lifts to where you can grip it with your fingers, peel the bezel up around the entire perimeter, using the spudger to separate any sections still adhered.

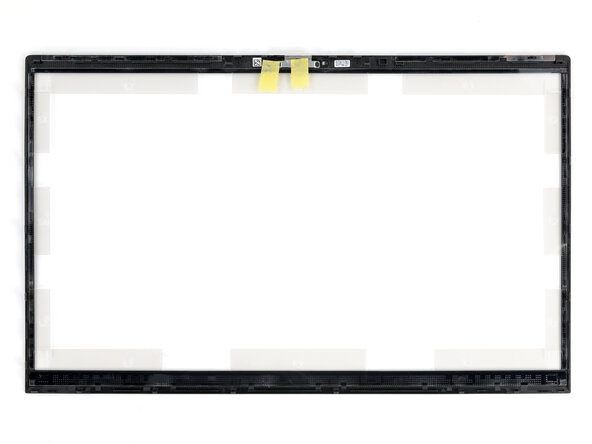
  • Remove the plastic bezel.

  • During reassembly, make sure to remove all the plastic liners and pieces of tape from your replacement bezel. Check thoroughly around the entire perimeter.

Sobald sich ein Teil des Frontrahmens mit den Fingern greifen lässt, ziehe ihn rundherum ab. Nutze den Spudger bei Bedarf, um noch haftende Stellen zu lösen.

Entferne den Kunststoffrahmen.

Entferne beim Zusammenbau alle Schutzfolien und Klebereste vom neuen Frontrahmen, bevor du ihn einsetzt – auch entlang der Ränder.

crwdns2944171:0crwdnd2944171:0crwdnd2944171:0crwdnd2944171:0crwdne2944171:0