crwdns2931527:0crwdnd2931527:0crwdnd2931527:0crwdnd2931527:0crwdne2931527:0
crwdns2935425:08crwdne2935425:0
crwdns2931653:08crwdne2931653:0

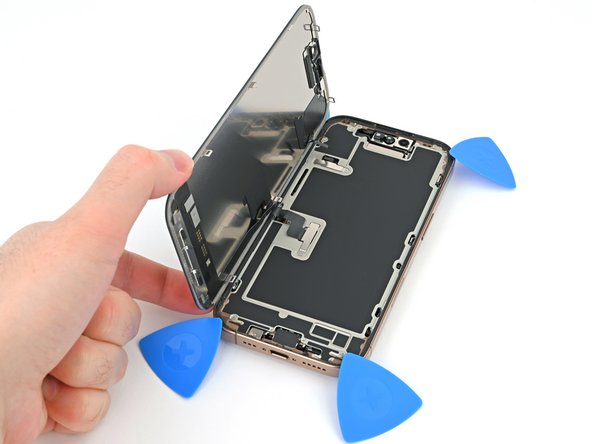


Swing open the screen
-
Carefully lift the screen upwards until the clips along the long edges clear the frame.
-
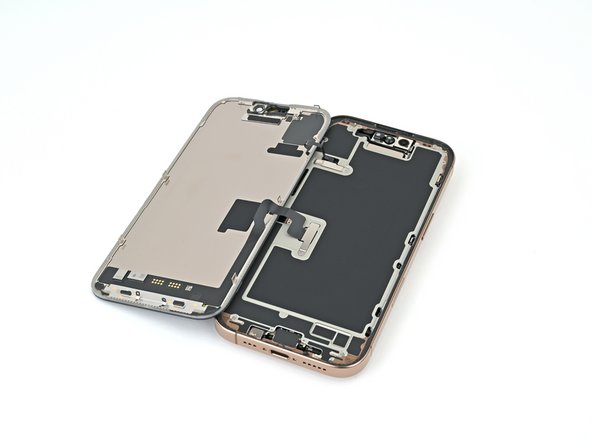
Swing open the screen over the left edge of the iPhone and lay it flat on your work surface.
crwdns2944171:0crwdnd2944171:0crwdnd2944171:0crwdnd2944171:0crwdne2944171:0