crwdns2933423:0crwdne2933423:0

Auftragen des Bildschirmklebers auf dem Microsoft Surface Pro 11

crwdns2935425:01crwdne2935425:0

crwdns2936315:0crwdne2936315:0
crwdns2936319:0crwdne2936319:0
crwdns2931653:01crwdne2931653:0
How to Apply Screen Adhesive in Your Microsoft Surface Pro 11, Clean the frame: crwdns2935265:00crwdnd2935265:01crwdnd2935265:03crwdne2935265:0 How to Apply Screen Adhesive in Your Microsoft Surface Pro 11, Clean the frame: crwdns2935265:00crwdnd2935265:02crwdnd2935265:03crwdne2935265:0 How to Apply Screen Adhesive in Your Microsoft Surface Pro 11, Clean the frame: crwdns2935265:00crwdnd2935265:03crwdnd2935265:03crwdne2935265:0
Clean the frame
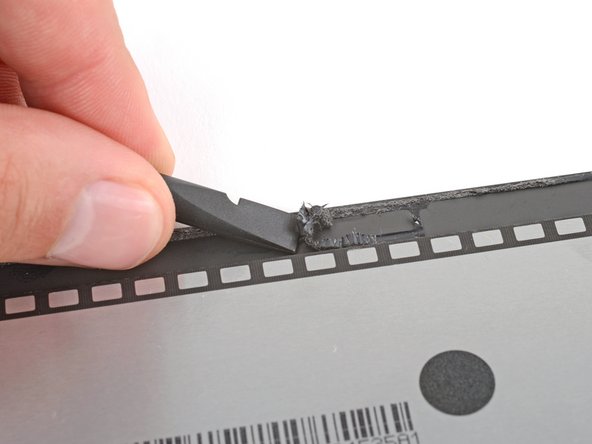
  • Use a spudger and your fingers (or tweezers) to scrape up and remove all the old screen adhesive from the perimeter of the frame.

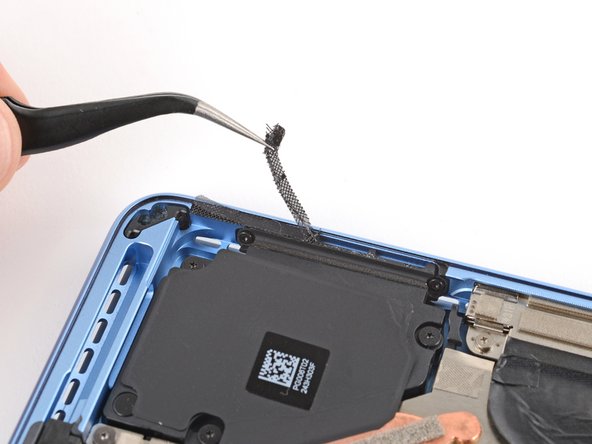
  • Use tweezers and a spudger to remove both speaker meshes from the frame.

  • If you're reusing your screen, repeat the process to remove any of the old screen adhesive from the perimeter.

  • To prevent damaging your screen, press gently with the spudger and make sure nothing is under the screen while you work.

Verwende einen Spudger und deine Finger (oder eine Pinzette), um den gesamten alten Kleber vom Rand des Rahmens abzukratzen und zu entfernen.

Verwende eine Pinzette und einen Spudger um die beiden Lautsprechergitter aus dem Rahmen zu entfernen.

Wenn du das Display wieder verwendest, wiederhole den Vorgang, um den alten Klebstoff vom Rand des Bildschirms zu entfernen.

Um eine Beschädigung des Bildschirms zu vermeiden, drücke nur vorsichtig mit dem Spudger und achte darauf, dass sich während der Arbeit nichts unter dem Bildschirm befindet.

crwdns2944171:0crwdnd2944171:0crwdnd2944171:0crwdnd2944171:0crwdne2944171:0