crwdns2933423:0crwdne2933423:0

단열 재킷에서 걸린 실밥 풀기

crwdns2936315:0crwdne2936315:0
crwdns2936325:0crwdne2936325:0
crwdns2931653:03crwdne2931653:0
Release a Snagged Stitch on an Insulated Jacket, Release the thread loop: crwdns2935265:00crwdnd2935265:01crwdnd2935265:03crwdne2935265:0 Release a Snagged Stitch on an Insulated Jacket, Release the thread loop: crwdns2935265:00crwdnd2935265:02crwdnd2935265:03crwdne2935265:0 Release a Snagged Stitch on an Insulated Jacket, Release the thread loop: crwdns2935265:00crwdnd2935265:03crwdnd2935265:03crwdne2935265:0
Release the thread loop
  • The goal is to redistribute the thread in the loop back into the stitch. This will also release the fabric bunching, which often occurs on both sides of the loop. Either distribute half of the thread loop to each side or work from the middle outwards.

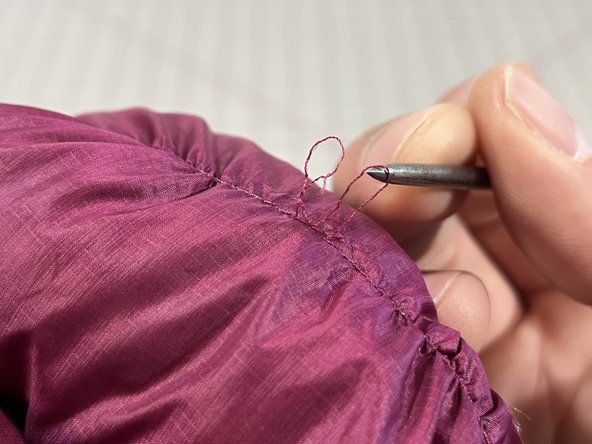
  • Grab a pointed tool small enough to slide under the stitches, like an awl, toothpick, or safety pin. Don't use a seam ripper.

  • Starting on the stitch directly next to the loop, use the pointed tool to carefully pull the loop thread through the stitch.

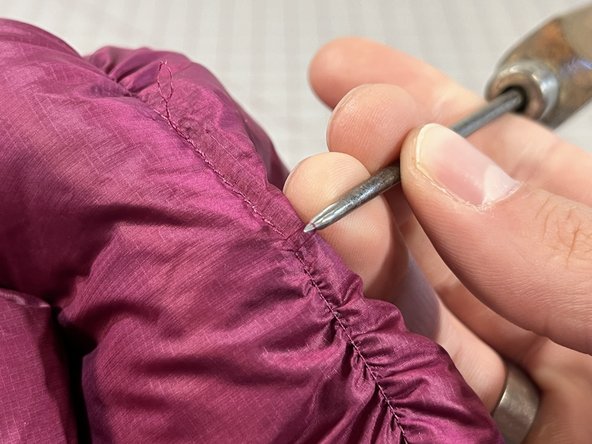
  • Continue pulling the loop through stitch-by-stitch. The loop will get smaller and smaller as the thread is distributed evenly to each stitch.

이 작업의 목적은 루프의 실을 다시 스티치로 재분배하는 것입니다. 이렇게 하면 루프의 양쪽에서 종종 발생하는 천 뭉침 현상도 풀립니다. 루프의 절반을 양쪽으로 분배하거나 가운데에서 바깥쪽으로 작업하세요.

송곳, 이쑤시개 또는 안전핀과 같이 스티치 밑에서 작업할 수 있을 만큼 작고 뾰족한 도구를 준비하세요. 솔기 리퍼를 사용하지 마세요.

루프 바로 옆의 스티치부터 시작하여 뾰족한 도구를 사용하여 루프 실을 스티치를 통해 조심스럽게 당기세요.

한 땀 한 땀 루프를 계속 당기세요. 실이 각 스티치에 고르게 분포되면서 루프가 점점 작아집니다.

crwdns2944171:0crwdnd2944171:0crwdnd2944171:0crwdnd2944171:0crwdne2944171:0