crwdns2931529:0crwdnd2931529:0crwdnd2931529:0crwdnd2931529:02crwdnd2931529:0crwdne2931529:0
crwdns2935425:06crwdne2935425:0
crwdns2931653:06crwdne2931653:0


-
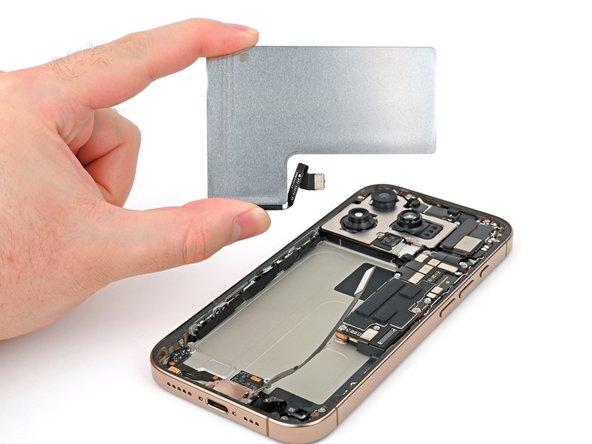
If you removed all three stretch release adhesive strips, congratulations! Lift and remove the battery.
-
Clean the frame with isopropyl alcohol and a lint-free or microfiber cloth. Wait for the alcohol to fully evaporate before installing the new battery.
-
Before applying adhesive, place it in its recess to check if it fits and that the cable reaches its socket on the logic board. Don't reconnect the battery yet.
| [* black] If you removed all three stretch release adhesive strips, congratulations! Lift and remove the battery. | |
| [* icon_note] If one or more adhesive strips broke, ***skip to the next step*** to remove them with isopropyl alcohol. | |
| [* icon_reminder] To install a new battery: | |
| - | [* black] Clean |
| + | [* black] Clean the frame with isopropyl alcohol and a lint-free or microfiber cloth. Wait for the alcohol to fully evaporate before installing the new battery. |
| [* black] ***Before applying adhesive***, place it in its recess to check if it fits and that the cable reaches its socket on the logic board. Don't reconnect the battery yet. | |
| [* icon_note] If your new battery doesn't have adhesive installed, [guide|137171|follow this guide|new_window=true] to apply new [product|IF145-458|stretch release adhesive strips|new_window=true], or use [product|IF317-072-2|thin, double-sided tape|new_window=true] to secure it. We recommend using stretch release adhesive for easier removal. |
crwdns2944171:0crwdnd2944171:0crwdnd2944171:0crwdnd2944171:0crwdne2944171:0