crwdns2931529:0crwdnd2931529:0crwdnd2931529:0crwdnd2931529:017crwdnd2931529:0crwdne2931529:0
crwdns2935425:05crwdne2935425:0
crwdns2931653:05crwdne2931653:0

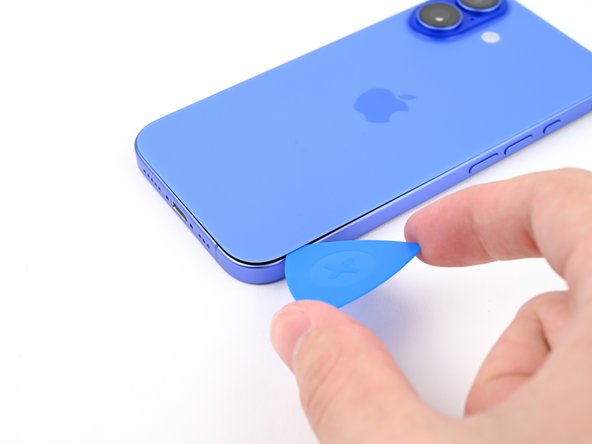


Separate the bottom right adhesive
-
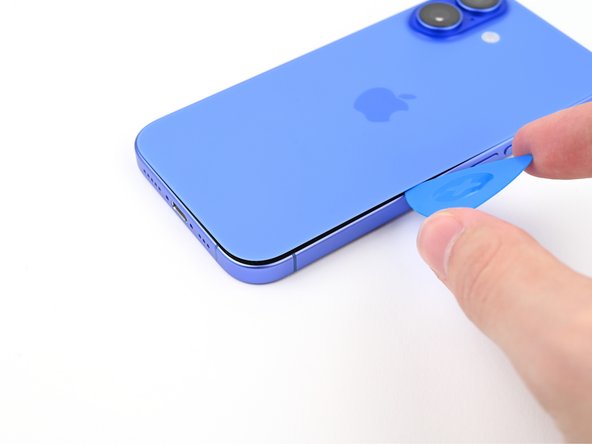
Slide your pick around the bottom right corner and to the volume down button to separate the adhesive and release the metal clip.
-
Leave this pick inserted to prevent the adhesive from resealing.
crwdns2944171:0crwdnd2944171:0crwdnd2944171:0crwdnd2944171:0crwdne2944171:0