crwdns2933423:0crwdne2933423:0

Reemplazo del lector de tarjetas inteligentes del HP EliteBook 840 G7

crwdns2931527:0crwdnd2931527:0crwdnd2931527:0crwdnd2931527:0crwdne2931527:0

crwdns2936315:0crwdne2936315:0
crwdns2936331:0crwdne2936331:0
crwdns2931653:02crwdne2931653:0
HP EliteBook 840 G7 Smart Card Reader Replacement, Reposition the speaker: crwdns2935265:00crwdnd2935265:01crwdnd2935265:03crwdne2935265:0 HP EliteBook 840 G7 Smart Card Reader Replacement, Reposition the speaker: crwdns2935265:00crwdnd2935265:02crwdnd2935265:03crwdne2935265:0 HP EliteBook 840 G7 Smart Card Reader Replacement, Reposition the speaker: crwdns2935265:00crwdnd2935265:03crwdnd2935265:03crwdne2935265:0
Reposition the speaker
  • Rubber grommets secure the top and bottom of the speaker.

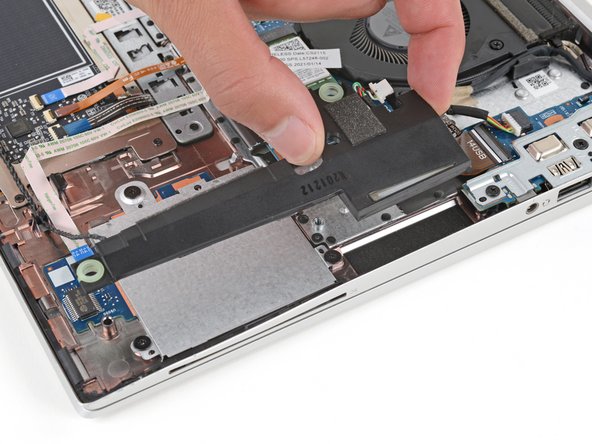
  • Gently lift the speaker on the right side (the one covering the smart card reader) straight up and off its posts.

  • Don't try to fully remove the speaker—it's still tethered.

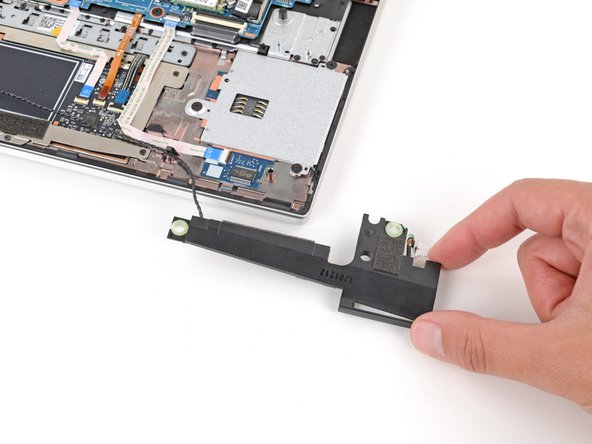
  • Place the speaker on your work surface, out of the way of the smart card reader.

  • Don't strain the speaker cable, and watch out for any screws that may stick to the speaker's internal magnet.

  • During reassembly, align the speaker grommets over their screw posts and press down gently to secure the speaker.

Las arandelas de goma fijan la parte superior e inferior del altavoz.

Levanta con cuidado el altavoz por el lado derecho (el que tapa el lector de tarjetas inteligentes) y sácalo de sus publicaciones.

No intentes quitar el altavoz por completo, ya que sigue conectado.

Coloca el altavoz en la superficie de trabajo, lejos del lector de tarjetas inteligentes.

No tires del cable del altavoz y ten cuidado con los tornillos que puedan quedar pegados al imán interno del altavoz.

Durante el reensamblaje, alinea las arandelas del altavoz sobre los tornillos y presiona suavemente para fijar el altavoz.

crwdns2944171:0crwdnd2944171:0crwdnd2944171:0crwdnd2944171:0crwdne2944171:0