crwdns2933423:0crwdne2933423:0

Kindle 10 LED Status Light Replacement

crwdns2935425:03crwdne2935425:0

crwdns2936315:0crwdne2936315:0
crwdns2936323:0crwdne2936323:0
crwdns2931653:03crwdne2931653:0
Kindle 10 LED Status Light Replacement: crwdns2935265:00crwdnd2935265:01crwdnd2935265:03crwdne2935265:0 Kindle 10 LED Status Light Replacement: crwdns2935265:00crwdnd2935265:02crwdnd2935265:03crwdne2935265:0 Kindle 10 LED Status Light Replacement: crwdns2935265:00crwdnd2935265:03crwdnd2935265:03crwdne2935265:0
  • Search for "Through-Hole Soldering" on this How To Solder guide to ensure you replace and solder the LED correctly.

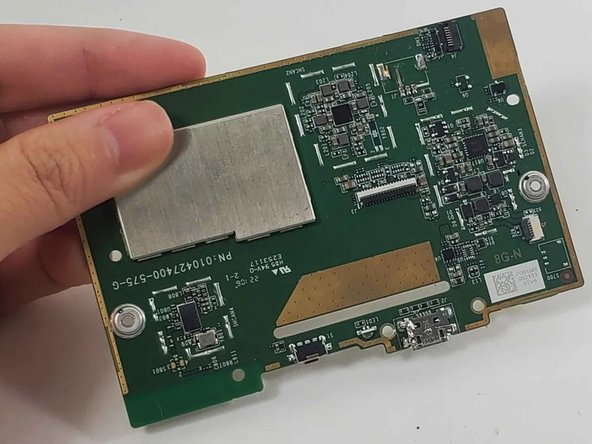
  • Align your new replacement LED in the correct location.

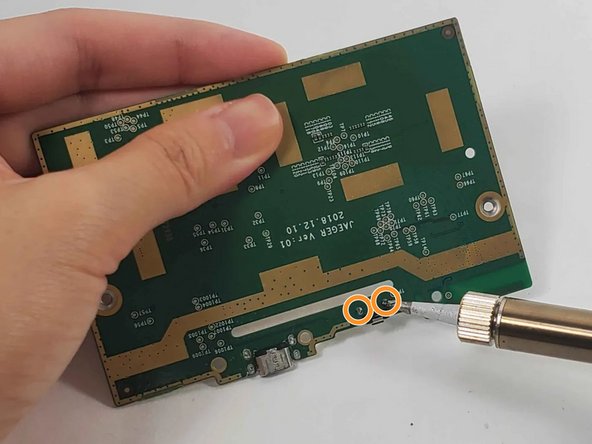
  • Pull the wires on each side of the new LED through the holes in the circuit where the LED was previously.

  • Solder its joints in the back. Be sure the soldering joints create a concave tent shape indicating a strong connection.

  • Use a tool such as tweezers to hold the new LED in place so that your hands are not near the hot soldering iron.

crwdns2935429:0crwdne2935429:0

crwdns2935429:0crwdne2935429:0

crwdns2935429:0crwdne2935429:0

crwdns2935429:0crwdne2935429:0

crwdns2935429:0crwdne2935429:0

crwdns2944171:0crwdnd2944171:0crwdnd2944171:0crwdnd2944171:0crwdne2944171:0