crwdns2935425:03crwdne2935425:0


-
The IO/Processing board is labeled MusicTribe 0609-AAB, PCB331032REVM_02
-
Caution! The IO/Processing PCB is held in by two screws on the rear, when you remove them the PCB will be loose but connected by a ribbon cable
-
Remove the two screws on the rear of the P16-HQ housing
-
Carefully lift the IO/Processing PCB from the case
-
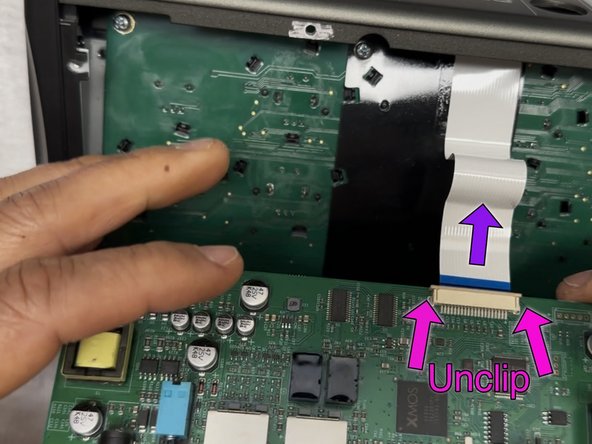
Flip the PCB over toward the front edge of the P16-HQ, unclip the ribbon cable and remove it
-
Finish removing the now disconnected PCB from the case
-
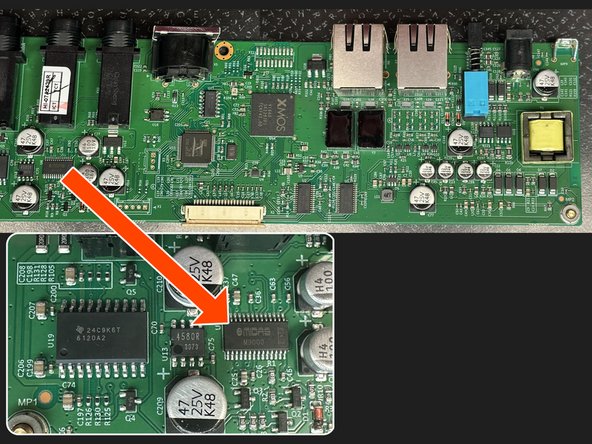
Click Image #3 for a zoomed in glam shot of the board which includes chips labeled: XMOS V16A0 (Could be a XU316), A couple Cirrus Logic 8416-CZZ, an GigaDevice GD32F303 and MIDAS M9000 DAC, and a TI TPA6120A2 headphone amp.
crwdns2944171:0crwdnd2944171:0crwdnd2944171:0crwdnd2944171:0crwdne2944171:0