crwdns2935425:05crwdne2935425:0
crwdns2931653:05crwdne2931653:0


Unscrew and remove trigger mount
-
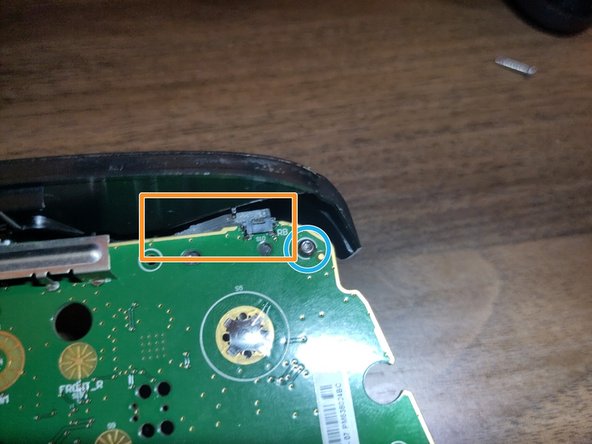
Turn the printed circuit board over, and remove two Torx T6 screws in the top corners holding the trigger mounts in place.
-
If you do NOT see some rectangular plastic piece resting on the bumper button on the printed circuit board, your controller's bumper is likely broken.
-
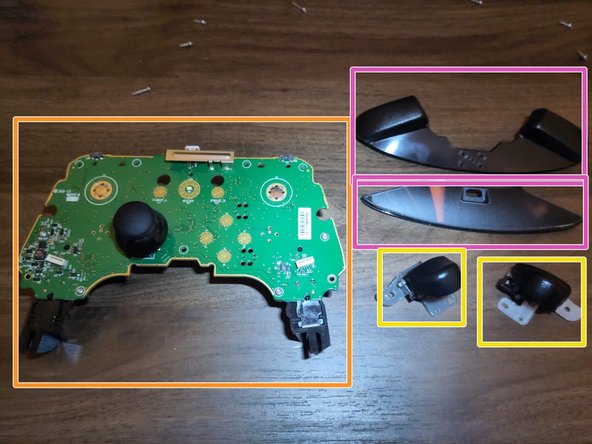
Once the screws are removed, we should have:
-
the printed circuit board,
-
trigger mounts,
-
and the top bar assembly holding the micro USB charging pre-drilled hole and outside bumper buttons. These are technically two pieces, but they sandwich together easily at four square points in the middle.
crwdns2944171:0crwdnd2944171:0crwdnd2944171:0crwdnd2944171:0crwdne2944171:0