crwdns2935425:03crwdne2935425:0
crwdns2931653:03crwdne2931653:0


Remove hidden screws under Rubber pads
-
Locate the Rubber Pads: As indicated by the red arrow above, find the four rubber pads positioned at the corners on the bottom of the scanner.
-
Remove the Pads: Gently pull out each rubber pad to expose the screws beneath them.
-
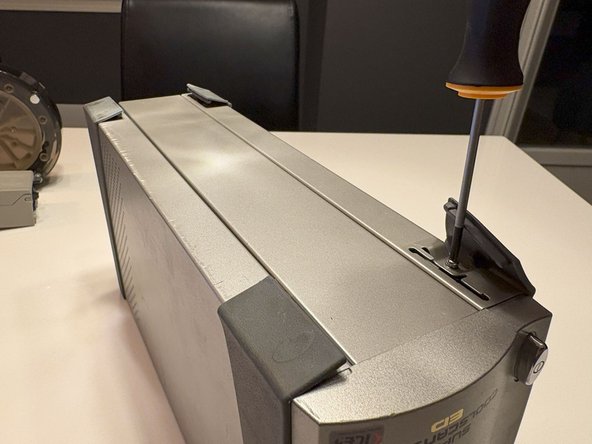
Prepare Your Tools: Ensure you have the appropriate screwdriver for the screws.
-
Unscrew: Carefully remove the four screws by turning them counterclockwise. Keep them safe for reassembly.
-
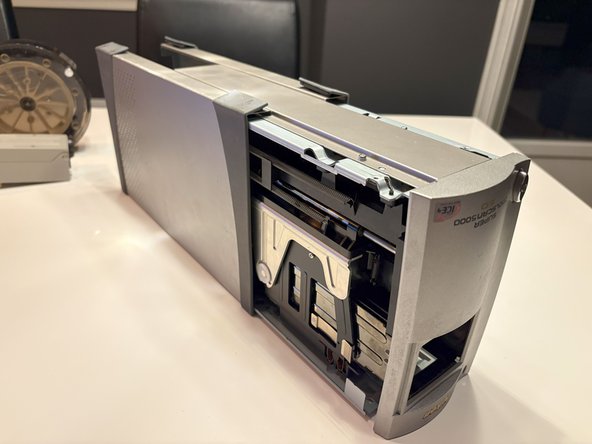
Remove the Shell: Once the screws are removed, gently slide the metal shell off the scanner, revealing the internal components.
crwdns2944171:0crwdnd2944171:0crwdnd2944171:0crwdnd2944171:0crwdne2944171:0