crwdns2931529:0crwdnd2931529:0crwdnd2931529:0crwdnd2931529:04crwdnd2931529:0crwdne2931529:0
crwdns2935425:01crwdne2935425:0
crwdns2931653:01crwdne2931653:0

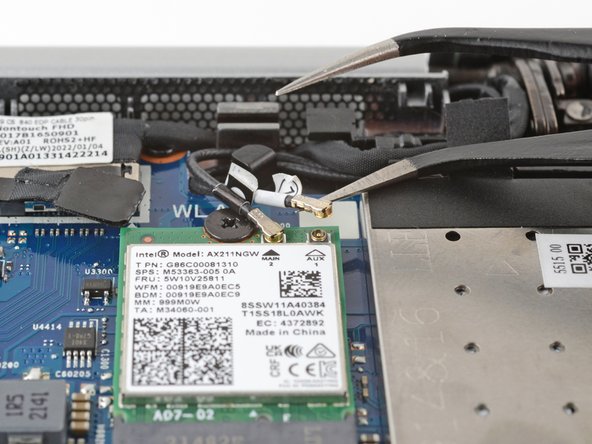


Disconnect the WLAN module cables
-
Slide an arm of a pair of angled tweezers under the metal neck of one of the coaxial connectors on the WLAN (Wi-Fi) module, near the right hinge.
-
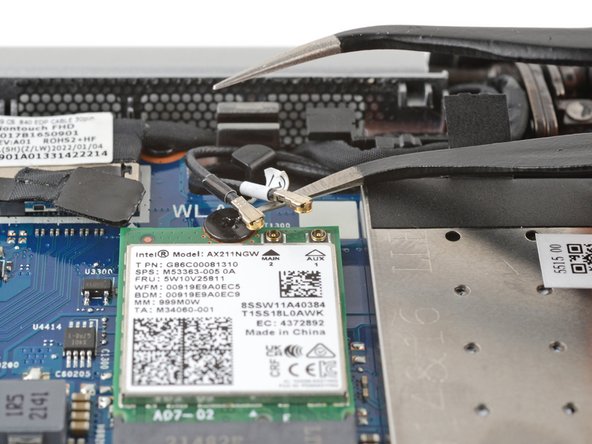
Lift straight up to disconnect the cable.
-
Repeat the process to disconnect the remaining coaxial connector.
-
Use tweezers to hold a connector in place over its socket and gently press down with your finger or a spudger—the connector should "snap" into place. If you're having trouble, reposition the head and try again. Don't use excessive force.
crwdns2944171:0crwdnd2944171:0crwdnd2944171:0crwdnd2944171:0crwdne2944171:0