crwdns2931529:0crwdnd2931529:0crwdnd2931529:0crwdnd2931529:05crwdnd2931529:0crwdne2931529:0
crwdns2935425:06crwdne2935425:0
crwdns2931653:06crwdne2931653:0

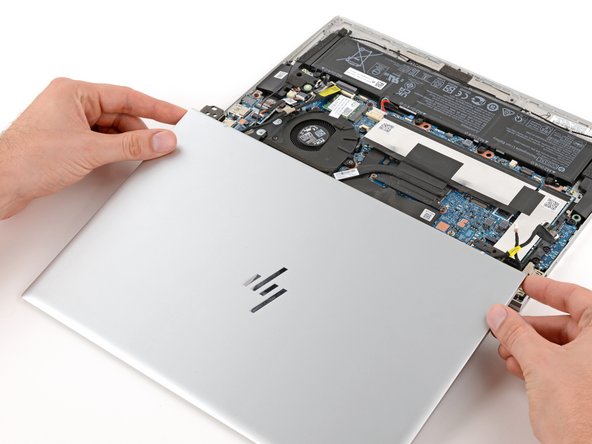


Remove the display assembly
-
Grip the display assembly near the hinges and lift straight up to remove it.
crwdns2944171:0crwdnd2944171:0crwdnd2944171:0crwdnd2944171:0crwdne2944171:0