crwdns2933423:0crwdne2933423:0

HP EliteBook 840 Aero G8 방열판 들어내기

crwdns2931529:0crwdnd2931529:0crwdnd2931529:0crwdnd2931529:03crwdnd2931529:0crwdne2931529:0

crwdns2935425:01crwdne2935425:0

crwdns2936315:0crwdne2936315:0
crwdns2936325:0crwdne2936325:0
crwdns2931653:01crwdne2931653:0
HP EliteBook 840 Aero G8 Heat Sink Prying, Unfasten the heat sink: crwdns2935265:00crwdnd2935265:01crwdnd2935265:02crwdne2935265:0 HP EliteBook 840 Aero G8 Heat Sink Prying, Unfasten the heat sink: crwdns2935265:00crwdnd2935265:02crwdnd2935265:02crwdne2935265:0
Unfasten the heat sink
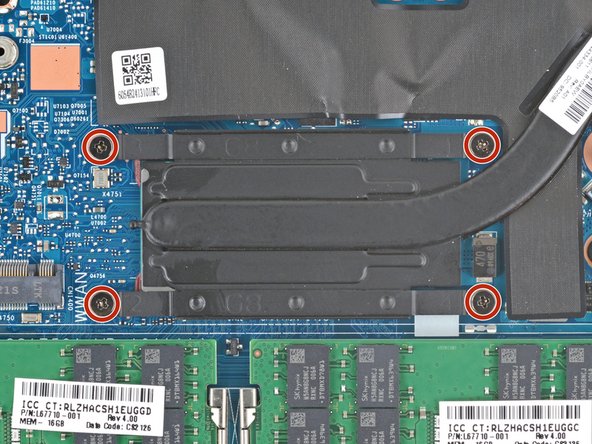
  • Use a Phillips screwdriver to fully loosen (not remove) the four captive screws securing the heat sink. Loosen the screws in descending order based on the numbers stamped next to each screw.

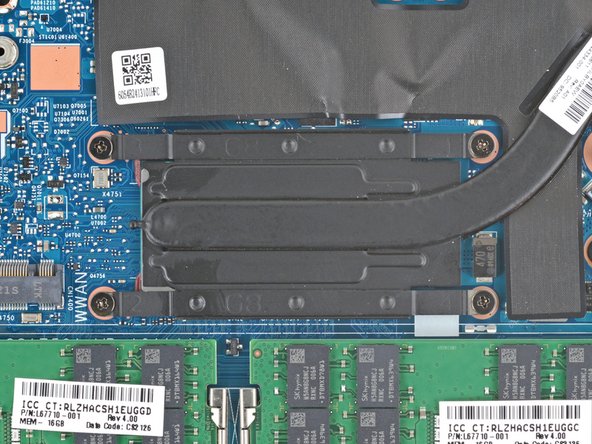
  • During reassembly, tighten the heat sink screws a few turns at a time in ascending order based on the numbers stamped next to each screw., until snug. This will usually be in an "X" pattern.

십자 드라이버를 사용하여 방열판을 고정하는 캡티브 나사 4개를 완전히 풀어주세요(빼지는 마세요). 각 나사 옆에 찍힌 숫자의 내림차순에 따라 나사를 풀어주세요.

재조립할 때는 각 나사 옆에 찍힌 숫자에 따라 오름차순으로 방열판 나사를 한 번에 몇 바퀴씩 조이세요. 일반적으로 "X" 패턴으로 조입니다.

crwdns2944171:0crwdnd2944171:0crwdnd2944171:0crwdnd2944171:0crwdne2944171:0