crwdns2931529:0crwdnd2931529:0crwdnd2931529:0crwdnd2931529:02crwdnd2931529:0crwdne2931529:0
crwdns2935425:01crwdne2935425:0
crwdns2931653:01crwdne2931653:0

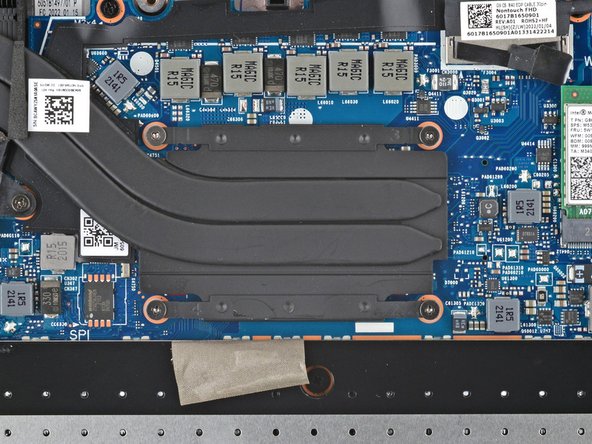


Unfasten the heat sink
-
Use a Phillips screwdriver to fully loosen (not remove) the four captive screws securing the heat sink. Loosen the screws in descending order based on the numbers stamped next to each screw.
crwdns2944171:0crwdnd2944171:0crwdnd2944171:0crwdnd2944171:0crwdne2944171:0