crwdns2931529:0crwdnd2931529:0crwdnd2931529:0crwdnd2931529:02crwdnd2931529:0crwdne2931529:0
crwdns2935425:01crwdne2935425:0
crwdns2931653:01crwdne2931653:0

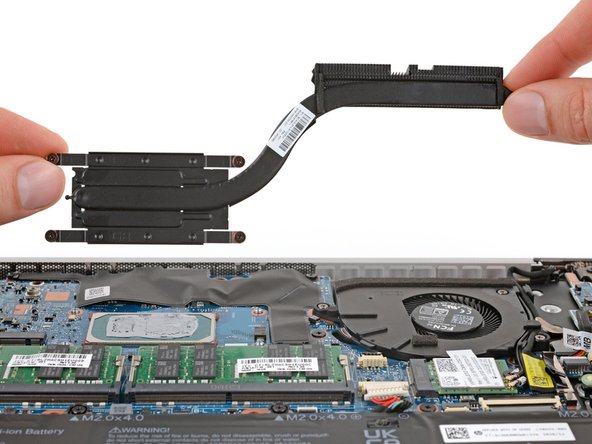


Remove the heat sink
-
Lift and remove the heat sink.
-
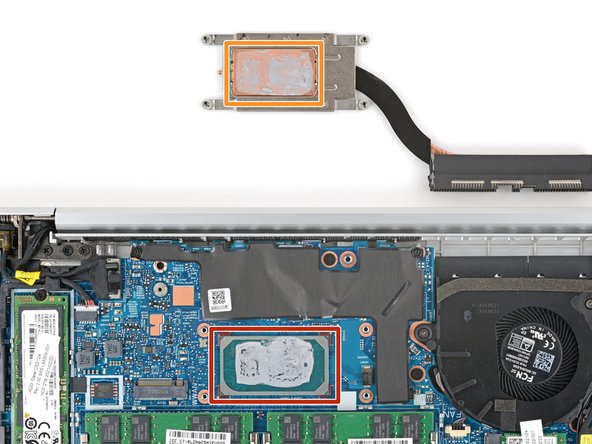
Follow this guide to clean the CPU and apply new thermal paste.
-
If you're reusing the heat sink, make sure to clean it as well.
crwdns2944171:0crwdnd2944171:0crwdnd2944171:0crwdnd2944171:0crwdne2944171:0