crwdns2931527:0crwdnd2931527:0crwdnd2931527:0crwdnd2931527:0crwdne2931527:0
crwdns2935425:03crwdne2935425:0
crwdns2931653:03crwdne2931653:0

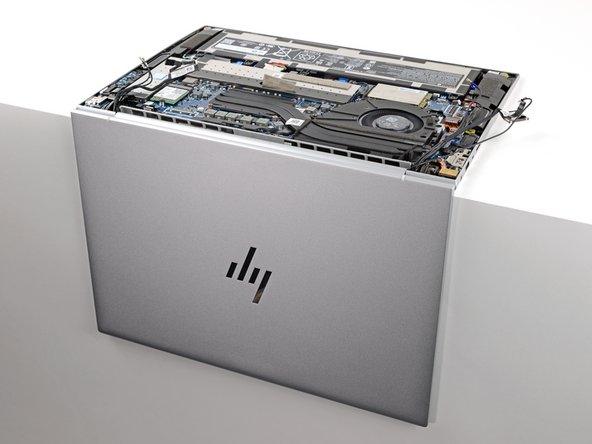


Hang the screen over an edge
-
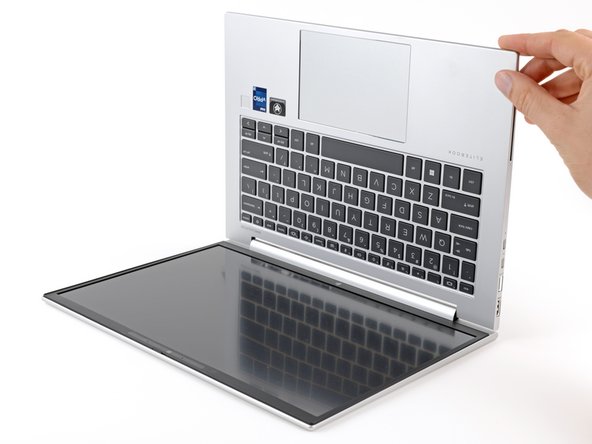
Grab the main body of your laptop and open it to a 90-degree angle.
-
Lay your laptop keyboard-side down on the edge of a flat, clean work surface, with the screen hanging over the edge, straight down.
crwdns2944171:0crwdnd2944171:0crwdnd2944171:0crwdnd2944171:0crwdne2944171:0