crwdns2931527:0crwdnd2931527:0crwdnd2931527:0crwdnd2931527:0crwdne2931527:0
crwdns2935425:03crwdne2935425:0
crwdns2931653:03crwdne2931653:0

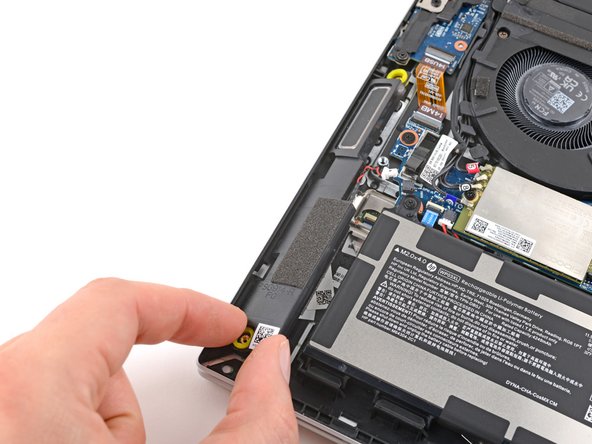
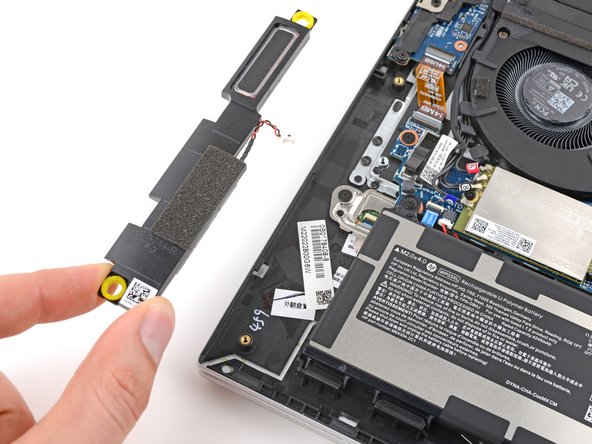


Remove the right speaker
-
Lift the speaker straight up and off its posts to remove it.
-
Make sure the new speaker has grommets. If it doesn't, transfer over the original grommets.
-
Align the grommets over their screw posts and press down gently to secure the speaker in place.
crwdns2944171:0crwdnd2944171:0crwdnd2944171:0crwdnd2944171:0crwdne2944171:0