crwdns2933423:0crwdne2933423:0

Oura Ring 3 - Charger Repair

crwdns2936315:0crwdne2936315:0
crwdns2936321:0crwdne2936321:0
crwdns2931653:02crwdne2931653:0
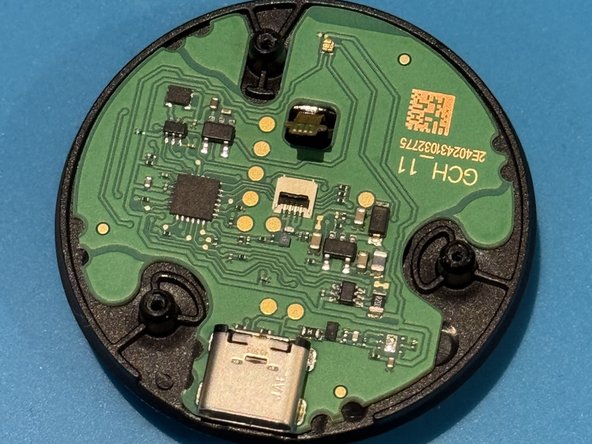
Oura Ring 3 - Charger Repair, Removing the PCB: crwdns2935265:00crwdnd2935265:01crwdnd2935265:03crwdne2935265:0 Oura Ring 3 - Charger Repair, Removing the PCB: crwdns2935265:00crwdnd2935265:02crwdnd2935265:03crwdne2935265:0 Oura Ring 3 - Charger Repair, Removing the PCB: crwdns2935265:00crwdnd2935265:03crwdnd2935265:03crwdne2935265:0
Removing the PCB
  • With the screws removed, the bottom cover of the case can be easily removed, there are no clips.

  • In order to remove the PCB, make sure to unclip the ribbon cable that goes to the wireless coil.

  • You can now separate all 3 parts, so you can work solely on the PCB.

crwdns2935429:0crwdne2935429:0

crwdns2935429:0crwdne2935429:0

crwdns2935429:0crwdne2935429:0

crwdns2944171:0crwdnd2944171:0crwdnd2944171:0crwdnd2944171:0crwdne2944171:0