crwdns2931529:0crwdnd2931529:0crwdnd2931529:0crwdnd2931529:033crwdnd2931529:0crwdne2931529:0
crwdns2935425:05crwdne2935425:0
crwdns2931653:05crwdne2931653:0

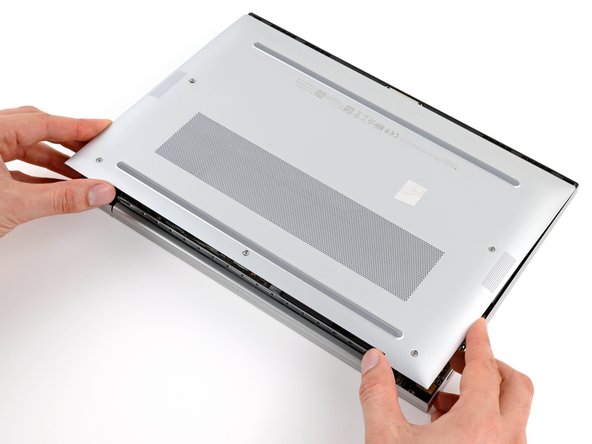
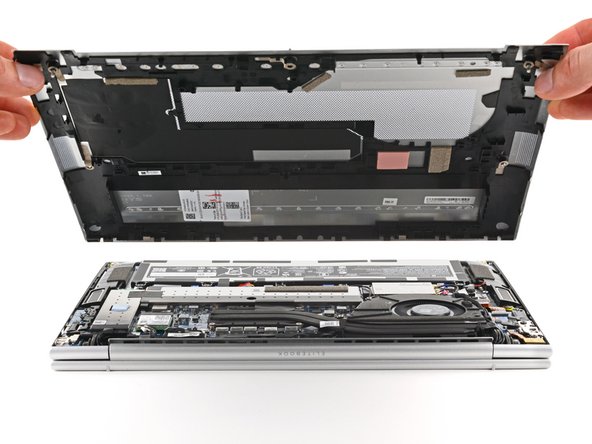


Remove the bottom cover
-
Slide the cover towards the screen hinge to disengage the clips on the opposite edge.
-
Lift and remove the cover.
crwdns2944171:0crwdnd2944171:0crwdnd2944171:0crwdnd2944171:0crwdne2944171:0