crwdns2933423:0crwdne2933423:0

Power Button Board Removal

crwdns2931529:0crwdnd2931529:0crwdnd2931529:0crwdnd2931529:02crwdnd2931529:0crwdne2931529:0

crwdns2936315:0crwdne2936315:0
crwdns2936321:0crwdne2936321:0
crwdns2931653:02crwdne2931653:0
Power Button Board Removal: crwdns2935265:00crwdnd2935265:01crwdnd2935265:03crwdne2935265:0 Power Button Board Removal: crwdns2935265:00crwdnd2935265:02crwdnd2935265:03crwdne2935265:0 Power Button Board Removal: crwdns2935265:00crwdnd2935265:03crwdnd2935265:03crwdne2935265:0
  • Be very careful when lifting the cable where it connects to the board. Peel gently, and slide an opening pick under the cable if you're having trouble separating the adhesive.

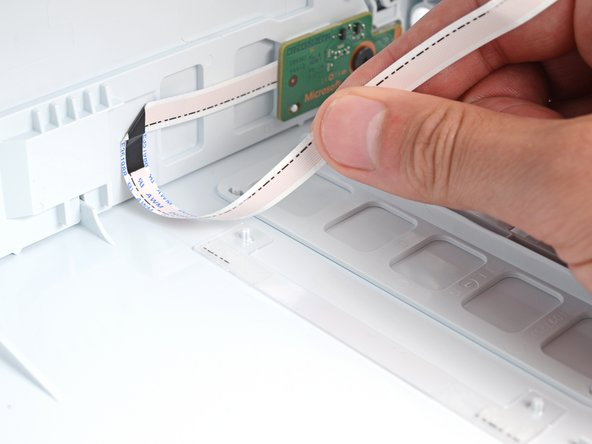
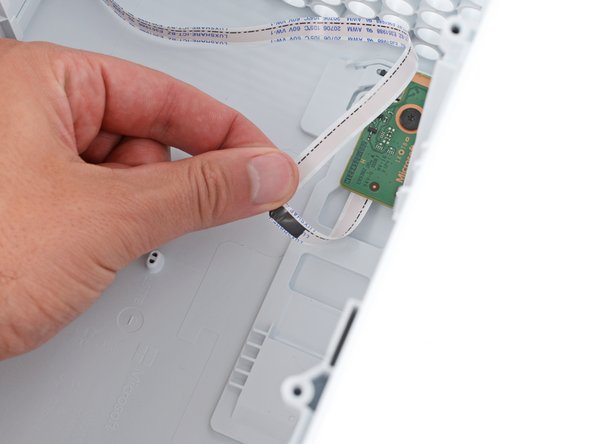
  • Peel up the power button cable to fully separate it from the shell.

  • During reassembly, use thin double‑sided adhesive to secure the cable. If there's adhesive left and it's still sticky, you can reuse it. If you have a new cable, check it for pre‑installed adhesive and remove any liners.

crwdns2935429:0crwdne2935429:0

crwdns2935429:0crwdne2935429:0

crwdns2935429:0crwdne2935429:0

crwdns2944171:0crwdnd2944171:0crwdnd2944171:0crwdnd2944171:0crwdne2944171:0