crwdns2933423:0crwdne2933423:0

迷你数字示波器 DIY 手工焊接套件

crwdns2936315:0crwdne2936315:0
crwdns2936311:0crwdne2936311:0
crwdns2931653:017crwdne2931653:0
Mini Digital Oscilloscope DIY Soldering Kit Assembly, Solder the microcontroller: crwdns2935265:00crwdnd2935265:01crwdnd2935265:03crwdne2935265:0 Mini Digital Oscilloscope DIY Soldering Kit Assembly, Solder the microcontroller: crwdns2935265:00crwdnd2935265:02crwdnd2935265:03crwdne2935265:0 Mini Digital Oscilloscope DIY Soldering Kit Assembly, Solder the microcontroller: crwdns2935265:00crwdnd2935265:03crwdnd2935265:03crwdne2935265:0
Solder the microcontroller
  • In this step, you're going to apply solder to one of the microcontroller pads to help with alignment when you solder it to the board.

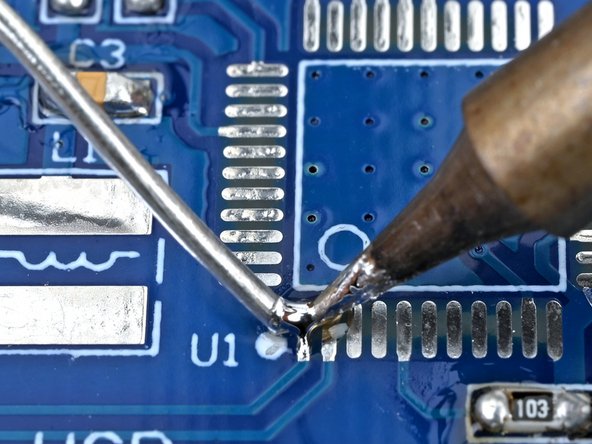
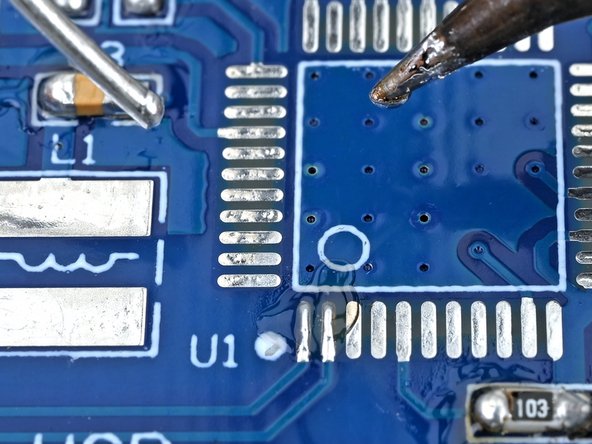
  • Press the iron's tip against the board's bottom left microcontroller solder pad for a few seconds to heat it.

  • If you heat the circuit board continuously for more than 10 seconds, the excessive heat may damage the solder pad.

  • Feed the solder wire into the heated area until there's a small glob of solder on the pad.

  • Since these pads are so close together, it's easy for the solder to adhere to multiple pads. This is fine as long as the pads aren't bridged to each other.

在这步,你要给微控制器的焊盘上锡,以便将其焊接到电路板时辅助对位。

将烙铁头按压在电路板左下角微控制器的焊盘以加热它。

如果持续加热电路板超过十秒,过高的温度可能会损坏焊盘。

将焊锡丝送入加热区域,直至焊盘上有一小滴焊锡。

由于焊盘之间的间距非常小,所以焊锡非常容易连在一起。只要焊盘之间没有形成桥接,这种情况也是可以接受的。

crwdns2944171:0crwdnd2944171:0crwdnd2944171:0crwdnd2944171:0crwdne2944171:0