crwdns2933423:0crwdne2933423:0

Mini digitale oscilloscoop DHZ soldeerkit

crwdns2936315:0crwdne2936315:0
crwdns2936313:0crwdne2936313:0
crwdns2931653:011crwdne2931653:0
Mini Digital Oscilloscope DIY Soldering Kit Assembly: crwdns2935265:00crwdnd2935265:01crwdnd2935265:03crwdne2935265:0 Mini Digital Oscilloscope DIY Soldering Kit Assembly: crwdns2935265:00crwdnd2935265:02crwdnd2935265:03crwdne2935265:0 Mini Digital Oscilloscope DIY Soldering Kit Assembly: crwdns2935265:00crwdnd2935265:03crwdnd2935265:03crwdne2935265:0
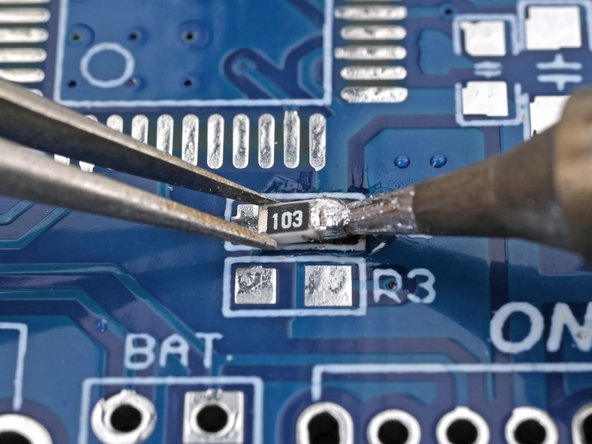
  • Place the smaller 10 kΩ resistor (labeled 103) in the outline labeled R2 on the board.

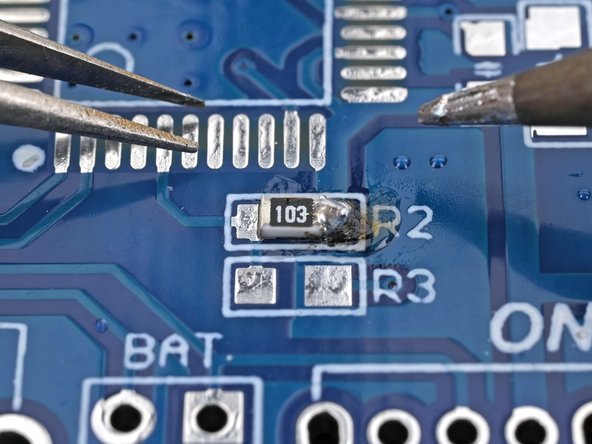
  • Press the soldering iron's tip onto the edge of the solder pad while holding the resistor in its outline, so that its end caps (the shiny parts) are resting on the circuit board's pads.

  • Remove the iron, then remove the tweezers once the solder has cooled.

Plaats de kleinere 10 kΩ-weerstand (gemarkeerd met 103) in de omtreklijn gemarkeerd met R2 op de print.

Druk de punt van de soldeerbout op de rand van het soldeervlak terwijl je de weerstand in zijn omtrek vasthoudt, zodat de eindkappen (de glimmende delen) op de soldeervlakken van de printplaat rusten.

Haal de soldeerbout weg en verwijder daarna de pincet zodra het soldeertin is afgekoeld.

crwdns2944171:0crwdnd2944171:0crwdnd2944171:0crwdnd2944171:0crwdne2944171:0