crwdns2933423:0crwdne2933423:0

Dreame T30: Display Replacement

crwdns2936315:0crwdne2936315:0
crwdns2936323:0crwdne2936323:0
crwdns2931653:013crwdne2931653:0
Dreame T30: Display Replacement: crwdns2935265:00crwdnd2935265:01crwdnd2935265:03crwdne2935265:0 Dreame T30: Display Replacement: crwdns2935265:00crwdnd2935265:02crwdnd2935265:03crwdne2935265:0 Dreame T30: Display Replacement: crwdns2935265:00crwdnd2935265:03crwdnd2935265:03crwdne2935265:0
  • After removing the display, simply disconnect the cable. You can now replace it or disassemble it further to replace only the display or the PCBA with buttons.

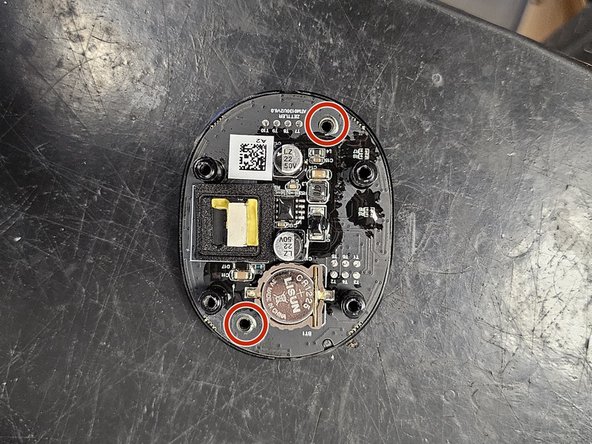
  • To do so, remove the 2 screws holding the assembly together. They are T10 Torx.

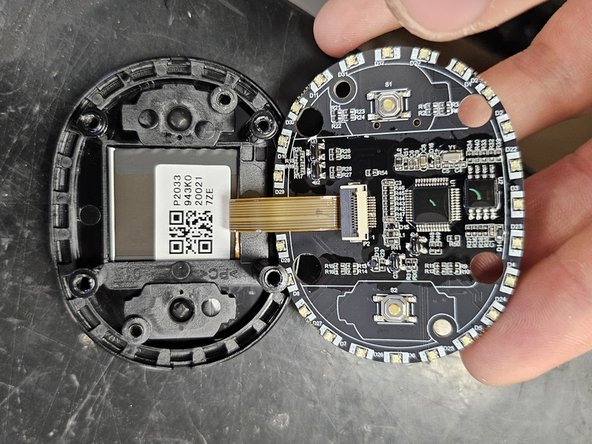
  • Once you've replaced what is needed, simply reassemble it, then attach the cable and put it back into the chassis.

crwdns2935429:0crwdne2935429:0

crwdns2935429:0crwdne2935429:0

crwdns2935429:0crwdne2935429:0

crwdns2944171:0crwdnd2944171:0crwdnd2944171:0crwdnd2944171:0crwdne2944171:0