crwdns2933423:0crwdne2933423:0

EasySMX X15 Bottom Casing Replacement

crwdns2931529:0crwdnd2931529:0crwdnd2931529:0crwdnd2931529:06crwdnd2931529:0crwdne2931529:0

crwdns2935425:01crwdne2935425:0

crwdns2936315:0crwdne2936315:0
crwdns2936321:0crwdne2936321:0
crwdns2931653:01crwdne2931653:0
EasySMX X15 Bottom Casing Replacement: crwdns2935265:00crwdnd2935265:01crwdnd2935265:02crwdne2935265:0 EasySMX X15 Bottom Casing Replacement: crwdns2935265:00crwdnd2935265:02crwdnd2935265:02crwdne2935265:0
  • Use a Phillips #00 screwdriver to remove the four 9 mm screws from the bottom of the EasySMX X15.

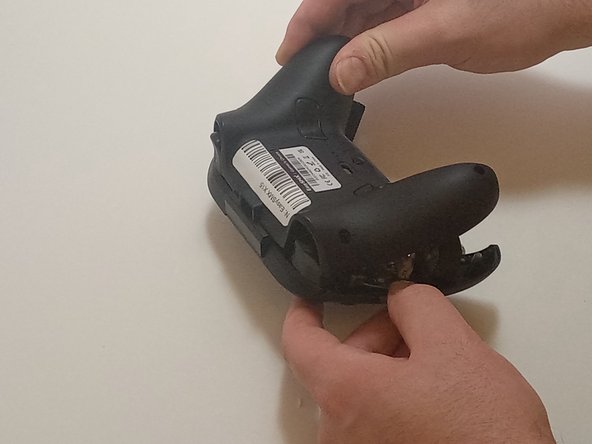
  • Use an opening tool to gently pry between the seams of the controller to separate the lower and upper casings.

  • Be gentle when separating the lower casing from the upper casing to avoid breaking any of the plastic snap tabs.

crwdns2935429:0crwdne2935429:0

crwdns2935429:0crwdne2935429:0

crwdns2935429:0crwdne2935429:0

crwdns2944171:0crwdnd2944171:0crwdnd2944171:0crwdnd2944171:0crwdne2944171:0