crwdns2935425:02crwdne2935425:0
crwdns2931653:02crwdne2931653:0

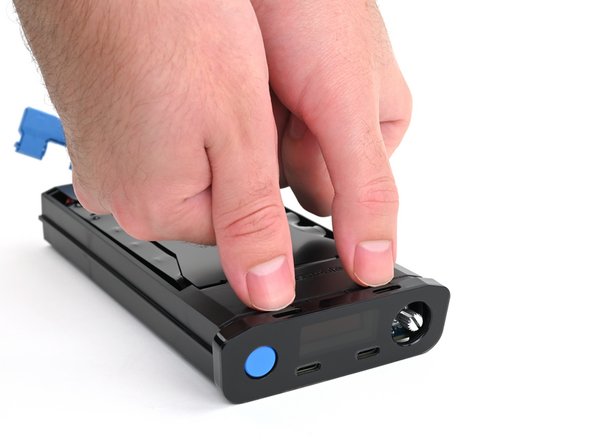
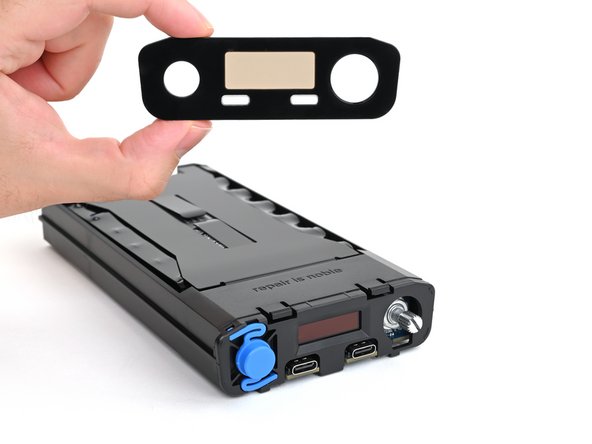


Remove the front panel
-
Use your fingers to depress the two locking tabs holding the front panel in place.
-
While pressing the tabs down, push the front panel away from the chassis and remove it.
-
Hook in the bottom edge of the front panel first, then push the top edge until it clicks into place.
crwdns2944171:0crwdnd2944171:0crwdnd2944171:0crwdnd2944171:0crwdne2944171:0