crwdns2933423:0crwdne2933423:0

Roborock Dyad Pro Combo: Fan Unit Teardown

crwdns2936315:0crwdne2936315:0
crwdns2936321:0crwdne2936321:0
crwdns2931653:08crwdne2931653:0
Roborock Dyad Pro Combo: Fan Unit Teardown, Connector PCBA assembly pt.1: crwdns2935265:00crwdnd2935265:01crwdnd2935265:03crwdne2935265:0 Roborock Dyad Pro Combo: Fan Unit Teardown, Connector PCBA assembly pt.1: crwdns2935265:00crwdnd2935265:02crwdnd2935265:03crwdne2935265:0 Roborock Dyad Pro Combo: Fan Unit Teardown, Connector PCBA assembly pt.1: crwdns2935265:00crwdnd2935265:03crwdnd2935265:03crwdne2935265:0
Connector PCBA assembly pt.1
  • Back inside, remove the 2 screws by the bunch of cables.

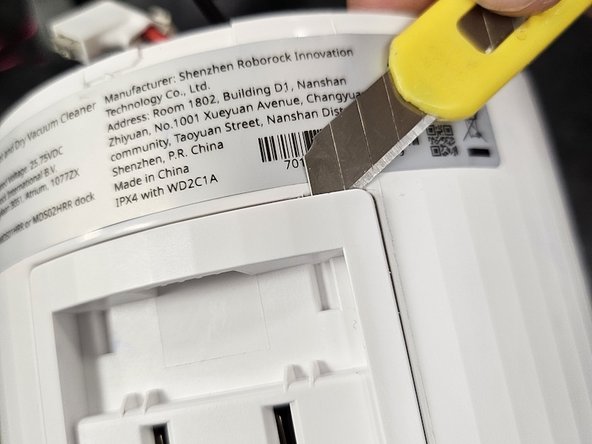
  • Move to the outside and force a gap between the main housing and the electrical contacts housing.

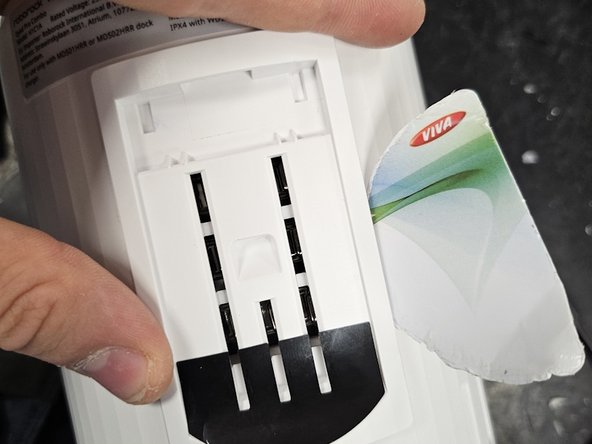
  • Use a plastic card to get the rest of the latches to unlatch.

crwdns2935429:0crwdne2935429:0

crwdns2935429:0crwdne2935429:0

crwdns2935429:0crwdne2935429:0

crwdns2944171:0crwdnd2944171:0crwdnd2944171:0crwdnd2944171:0crwdne2944171:0