crwdns2931527:0crwdnd2931527:0crwdnd2931527:0crwdnd2931527:0crwdne2931527:0
crwdns2935425:01crwdne2935425:0
crwdns2931653:01crwdne2931653:0

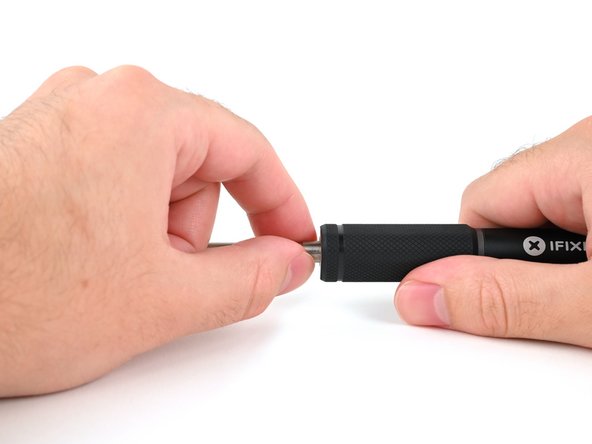
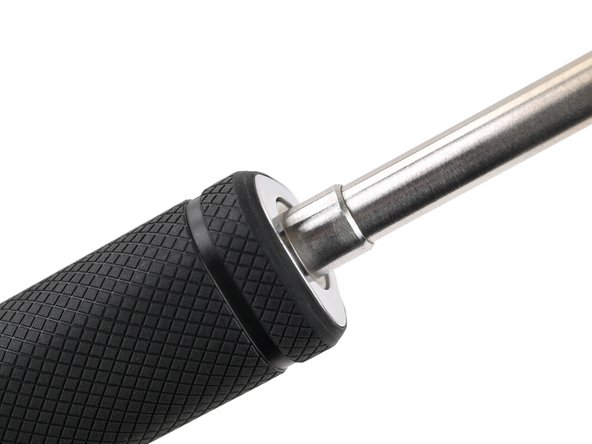


Insert the new soldering iron tip
-
Push the tip into the iron enclosure in the handle until it clicks into place.
crwdns2944171:0crwdnd2944171:0crwdnd2944171:0crwdnd2944171:0crwdne2944171:0