crwdns2935425:02crwdne2935425:0
crwdns2931653:02crwdne2931653:0

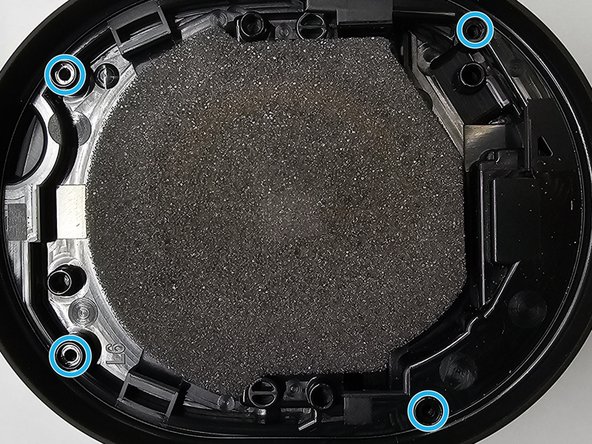


Removing Earcup Screws
-
Using a Phillips #000 screwdriver, remove all 4 of these screws.
-
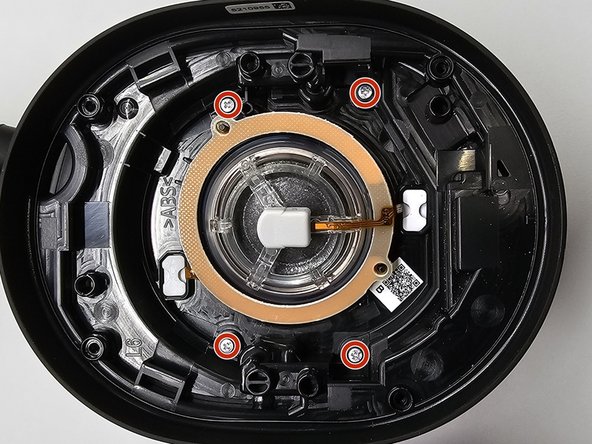
Removing the piece of foam in the middle of the earcup will reveal the main driver, as well as 4 more screws.
-
Using a Phillips #000 screwdriver, remove the last four screws within the interior of the earcup.
crwdns2944171:0crwdnd2944171:0crwdnd2944171:0crwdnd2944171:0crwdne2944171:0