crwdns2933423:0crwdne2933423:0

Google Pixel 9 Pro XL Screen Replacement

crwdns2931527:0crwdnd2931527:0crwdnd2931527:0crwdnd2931527:0crwdne2931527:0

crwdns2936315:0crwdne2936315:0
crwdns2936325:0crwdne2936325:0
crwdns2931653:014crwdne2931653:0
Google Pixel 9 Pro XL Screen Replacement: crwdns2935265:00crwdnd2935265:01crwdnd2935265:02crwdne2935265:0 Google Pixel 9 Pro XL Screen Replacement: crwdns2935265:00crwdnd2935265:02crwdnd2935265:02crwdne2935265:0
  • Be very careful not to strain the screen cable during this step. You may need to hold the screen up at an angle to help position the cable.

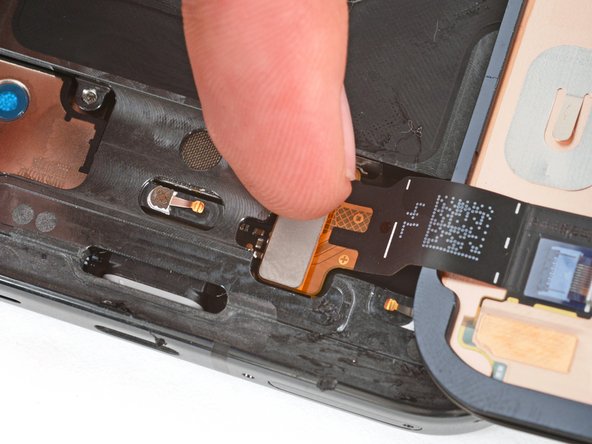
  • Align the screen press connector over its socket and gently press down on one side until it clicks into place, then press down on the other side.

  • Don't press down in the middle. If the connector is misaligned, the pins can bend and cause permanent damage.

  • Now is a good time to test your phone before sealing it up. Power it on and check that it works. Power it back down before you continue reassembly.

  • Hook the bottom edge of the screen cable bracket into its cutout and firmly press down on the top edge until the bracket clicks into place.

crwdns2935429:0crwdne2935429:0

crwdns2935429:0crwdne2935429:0

crwdns2935429:0crwdne2935429:0

crwdns2935429:0crwdne2935429:0

crwdns2935429:0crwdne2935429:0

crwdns2944171:0crwdnd2944171:0crwdnd2944171:0crwdnd2944171:0crwdne2944171:0