crwdns2935425:04crwdne2935425:0
crwdns2931653:04crwdne2931653:0

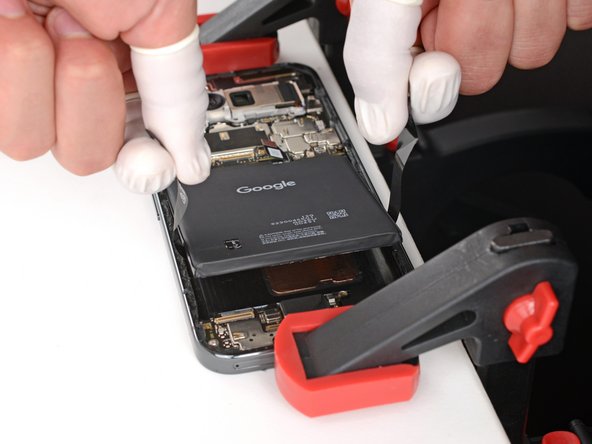


Separate the battery adhesive
-
Pull straight up on the battery pull tabs and apply constant, steady pressure until the battery separates from the frame.
-
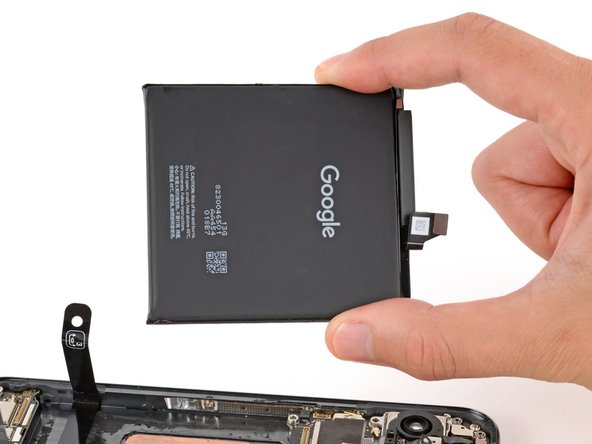
Remove the battery.
-
If you successfully removed the battery, congratulations! Skip down seven steps for reassembly information.
-
If the pull tab broke or accidentally slipped out from under the battery, don't worry! Go to the next step for an alternate battery removal method.
crwdns2944171:0crwdnd2944171:0crwdnd2944171:0crwdnd2944171:0crwdne2944171:0