crwdns2933423:0crwdne2933423:0

Google Pixel 9 - バッテリー交換

crwdns2936315:0crwdne2936315:0
crwdns2936323:0crwdne2936323:0
crwdns2931653:019crwdne2931653:0
Google Pixel 9 Battery Replacement, Separate the battery adhesive: crwdns2935265:00crwdnd2935265:01crwdnd2935265:03crwdne2935265:0 Google Pixel 9 Battery Replacement, Separate the battery adhesive: crwdns2935265:00crwdnd2935265:02crwdnd2935265:03crwdne2935265:0 Google Pixel 9 Battery Replacement, Separate the battery adhesive: crwdns2935265:00crwdnd2935265:03crwdnd2935265:03crwdne2935265:0
Separate the battery adhesive
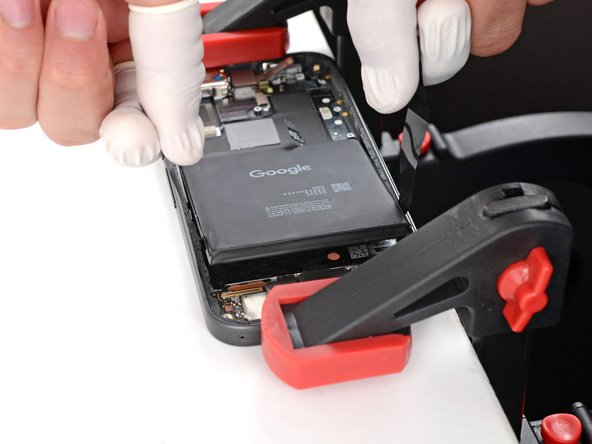
  • Pull straight up on the battery pull tabs and apply constant, steady pressure until the battery separates from the frame.

  • If the battery doesn't separate after one minute of steady pressure, apply more heat and try again.

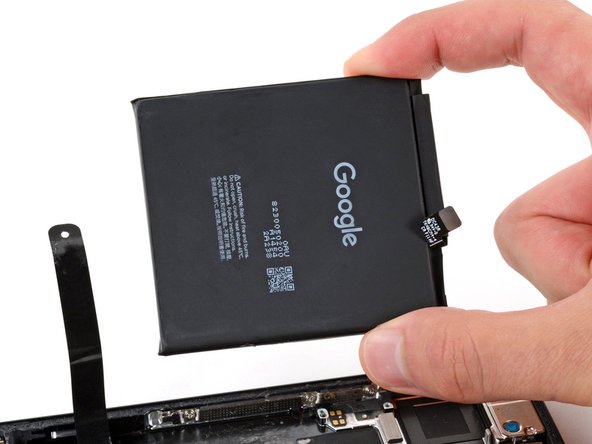
  • Remove the battery.

  • Never reuse a deformed or damaged battery—it's a fire hazard. Replace it with a new battery.

  • If you successfully removed the battery, congratulations! Skip down seven steps for reassembly information.

  • If the pull tab broke or accidentally slipped out from under the battery, don't worry! Go to the next step for an alternate battery removal method.

バッテリーの両側のプルタブを持ち、垂直に引き上げます。バッテリーがフレームから離れるまで一定の強い力をかけ続けてください。

1分以上引き上げ続けてもバッテリーが持ち上がらない場合、さらに加熱してもう一度引き上げます。

バッテリーを取り外します。

いかなる場合も、破損か変形しているバッテリーを再利用しないでください。必ず新しいバッテリーと交換してください。

この段階でバッテリーが取り外せた場合は、組み立てなおす際に七つ先の手順を参照してください。

プルタブが破れたかバッテリーの下から滑り出てしまった場合、次の手順にあるもう一つの交換方法を試してください。

crwdns2944171:0crwdnd2944171:0crwdnd2944171:0crwdnd2944171:0crwdne2944171:0