crwdns2933423:0crwdne2933423:0

Microsoft Surface Pro 11 Screen Replacement

crwdns2931529:0crwdnd2931529:0crwdnd2931529:0crwdnd2931529:09crwdnd2931529:0crwdne2931529:0

crwdns2936315:0crwdne2936315:0
crwdns2936321:0crwdne2936321:0
crwdns2931653:08crwdne2931653:0
Microsoft Surface Pro 11 Screen Replacement, Separate the left edge adhesive: crwdns2935265:00crwdnd2935265:01crwdnd2935265:03crwdne2935265:0 Microsoft Surface Pro 11 Screen Replacement, Separate the left edge adhesive: crwdns2935265:00crwdnd2935265:02crwdnd2935265:03crwdne2935265:0 Microsoft Surface Pro 11 Screen Replacement, Separate the left edge adhesive: crwdns2935265:00crwdnd2935265:03crwdnd2935265:03crwdne2935265:0
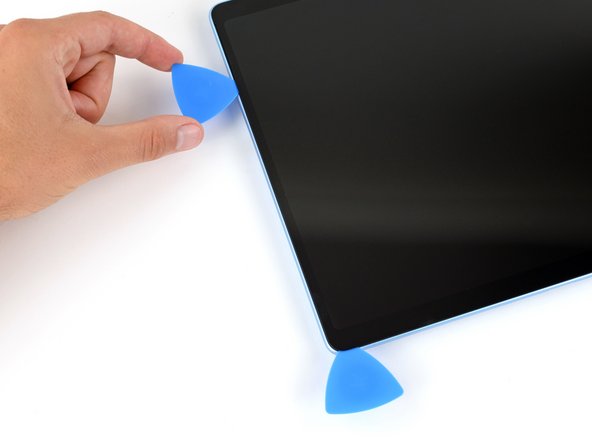
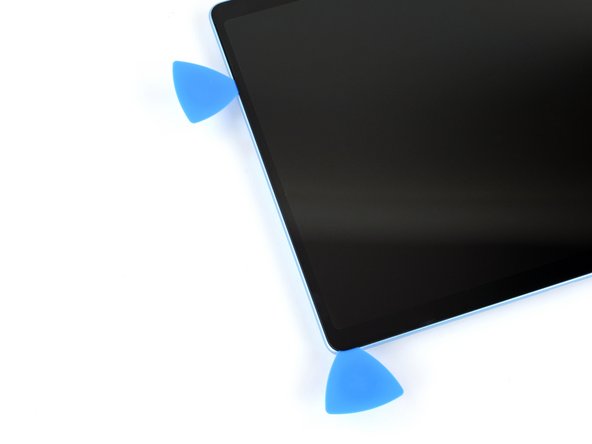
Separate the left edge adhesive
  • Remember not to insert your pick more than 2 mm on the right edge.

  • Insert a third pick under the bottom left corner of the screen and slide it up the left edge, stopping when you get to the bottom of the left speaker cutout.

  • Leave the pick inserted under the screen to prevent the adhesive from re-sealing.

crwdns2935429:0crwdne2935429:0

crwdns2935429:0crwdne2935429:0

crwdns2935429:0crwdne2935429:0

crwdns2944171:0crwdnd2944171:0crwdnd2944171:0crwdnd2944171:0crwdne2944171:0