crwdns2933423:0crwdne2933423:0

Bildschirmtausch beim Microsoft Surface Pro 11

crwdns2931529:0crwdnd2931529:0crwdnd2931529:0crwdnd2931529:09crwdnd2931529:0crwdne2931529:0

crwdns2936315:0crwdne2936315:0
crwdns2936319:0crwdne2936319:0
crwdns2931653:06crwdne2931653:0
Microsoft Surface Pro 11 Screen Replacement, Separate the bottom edge adhesive: crwdns2935265:00crwdnd2935265:01crwdnd2935265:03crwdne2935265:0 Microsoft Surface Pro 11 Screen Replacement, Separate the bottom edge adhesive: crwdns2935265:00crwdnd2935265:02crwdnd2935265:03crwdne2935265:0 Microsoft Surface Pro 11 Screen Replacement, Separate the bottom edge adhesive: crwdns2935265:00crwdnd2935265:03crwdnd2935265:03crwdne2935265:0
Separate the bottom edge adhesive
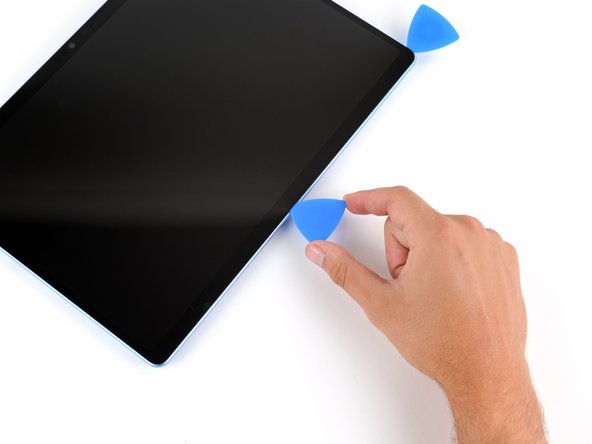
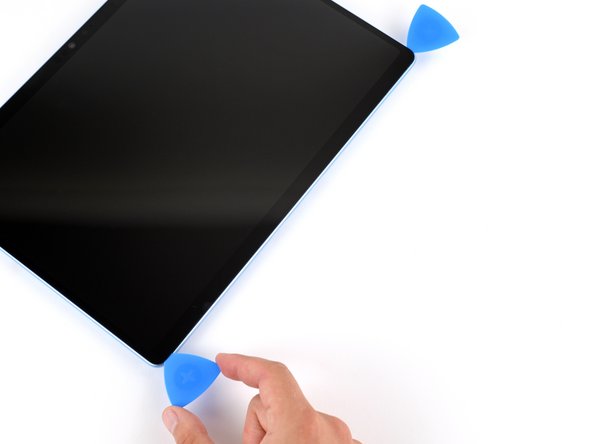
  • Remember not to insert your pick more than 2 mm on the bottom edge.

  • Insert a second pick under the bottom right corner of the screen and slide it along the bottom edge to separate the adhesive.

  • Leave your second pick inserted under the bottom left corner to prevent the adhesive from re‑sealing.

Achte darauf, dass du an der unteren Kante entlang das Plektrum nicht mehr als 2mm reinschiebst.

Führe ein zweites Plektrum in die Bildschirmecke unten rechts ein und schiebe es an der unteren Kante entlang, um den Kleber zu lösen.

Lasse dein zweites Plektrum in der Ecke unten linkst stecken, um zu verhindern, dass sich der Kleber erneut verbindet.

crwdns2944171:0crwdnd2944171:0crwdnd2944171:0crwdnd2944171:0crwdne2944171:0