crwdns2933423:0crwdne2933423:0

Microsoft Surface Pro 11 Screen Replacement

crwdns2931529:0crwdnd2931529:0crwdnd2931529:0crwdnd2931529:09crwdnd2931529:0crwdne2931529:0

crwdns2936315:0crwdne2936315:0
crwdns2936323:0crwdne2936323:0
crwdns2931653:03crwdne2931653:0
Microsoft Surface Pro 11 Screen Replacement, Separate the right edge adhesive: crwdns2935265:00crwdnd2935265:01crwdnd2935265:03crwdne2935265:0 Microsoft Surface Pro 11 Screen Replacement, Separate the right edge adhesive: crwdns2935265:00crwdnd2935265:02crwdnd2935265:03crwdne2935265:0 Microsoft Surface Pro 11 Screen Replacement, Separate the right edge adhesive: crwdns2935265:00crwdnd2935265:03crwdnd2935265:03crwdne2935265:0
Separate the right edge adhesive
  • Remember not to insert your pick more than 2 mm on the right edge.

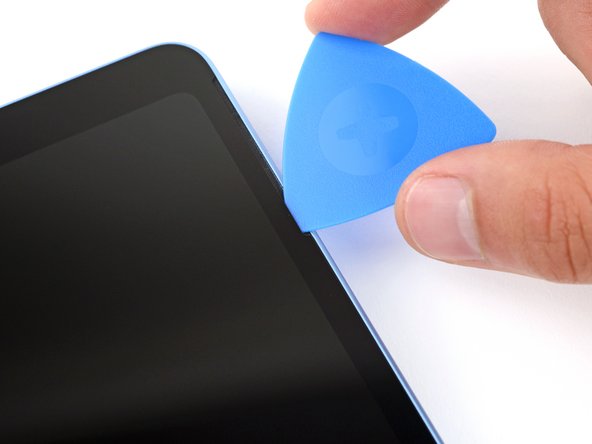
  • Insert the tip of an opening pick under the screen near the bottom of the right speaker cutout.

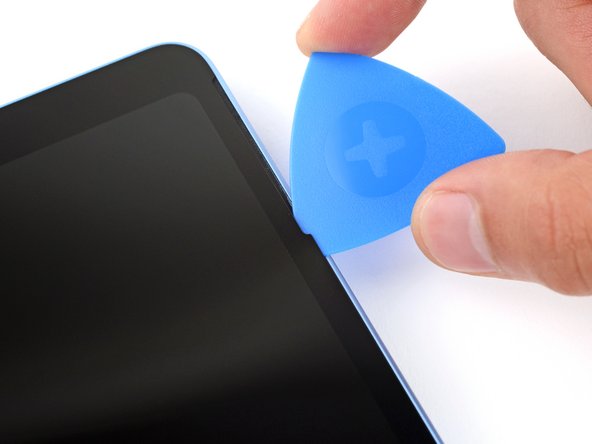
  • Slide your pick towards the bottom edge and slightly rotate it so the tip goes under the notch in the screen.

crwdns2935429:0crwdne2935429:0

crwdns2935429:0crwdne2935429:0

crwdns2935429:0crwdne2935429:0

crwdns2944171:0crwdnd2944171:0crwdnd2944171:0crwdnd2944171:0crwdne2944171:0