crwdns2935425:06crwdne2935425:0
crwdns2931653:06crwdne2931653:0

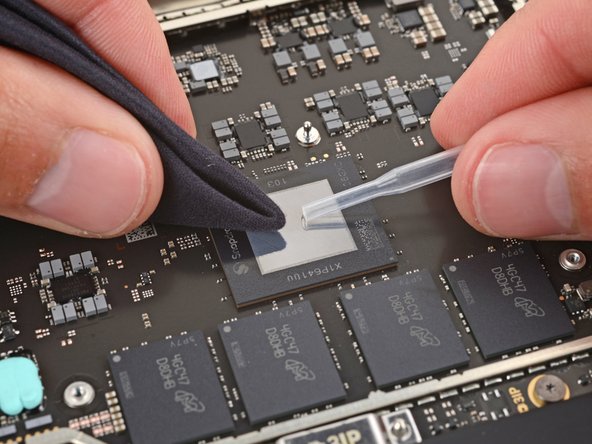


Remove the old thermal paste
-
Use the flat end of a spudger to scrape up the old thermal paste from the CPU.
-
Use high concentration (more than 90%) isopropyl alcohol and a microfiber cleaning cloth to remove all the thermal paste residue from the CPU.
-
Wait for the isopropyl alcohol to dry completely before applying any thermal paste.
crwdns2944171:0crwdnd2944171:0crwdnd2944171:0crwdnd2944171:0crwdne2944171:0