crwdns2933423:0crwdne2933423:0

Google Pixel 8aのスクリーン交換

crwdns2936315:0crwdne2936315:0
crwdns2936323:0crwdne2936323:0
crwdns2931653:010crwdne2931653:0
Google Pixel 8a Screen Replacement: crwdns2935265:00crwdnd2935265:01crwdnd2935265:03crwdne2935265:0 Google Pixel 8a Screen Replacement: crwdns2935265:00crwdnd2935265:02crwdnd2935265:03crwdne2935265:0 Google Pixel 8a Screen Replacement: crwdns2935265:00crwdnd2935265:03crwdnd2935265:03crwdne2935265:0
  • Hold one hand above the display bracket when prying it up, as the bracket can easily eject.

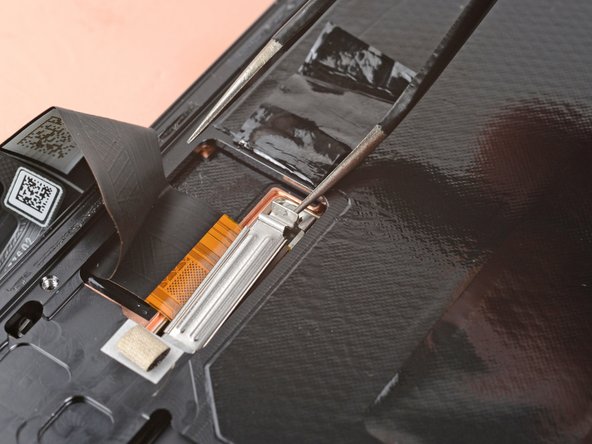
  • Use the tip of one arm of your angled tweezers to pry up the top edge of the display cable bracket from the center of the logic board.
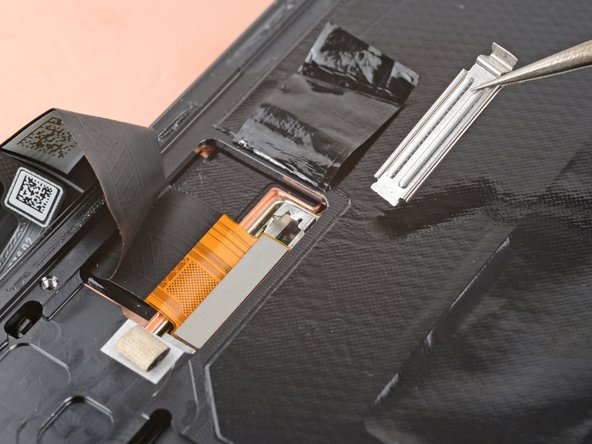
  • Be very careful not to damage the board under the bracket's socket. Only insert your tweezers just enough to pry up the bracket.

  • Remove the bracket.

ディスプレイブラケットを取り外す際は、もう片方の手で押さえながら作業して下さい。ブラケットがどこかに飛んでいく恐れがあります。

ツル首ピンセットの片方の先端を使ってディスプレイケーブルブラケットの上端をこじり上げて、ロジックボードの中央から外して下さい。

ブラケットのソケットの下にある基板を破損しないよう、作業の際は十分に注意して下さい。ピンセットの先端はこじりあげるのに必要な深さ以上に差し込まないで下さい。

ブラケットを取り外します。

crwdns2944171:0crwdnd2944171:0crwdnd2944171:0crwdnd2944171:0crwdne2944171:0