crwdns2933423:0crwdne2933423:0

iPod Nano第7世代のバッテリー交換

crwdns2935425:06crwdne2935425:0

crwdns2936315:0crwdne2936315:0
crwdns2936323:0crwdne2936323:0
crwdns2931653:06crwdne2931653:0
iPod Nano 7th Generation Battery Replacement: crwdns2935265:00crwdnd2935265:01crwdnd2935265:03crwdne2935265:0 iPod Nano 7th Generation Battery Replacement: crwdns2935265:00crwdnd2935265:02crwdnd2935265:03crwdne2935265:0 iPod Nano 7th Generation Battery Replacement: crwdns2935265:00crwdnd2935265:03crwdnd2935265:03crwdne2935265:0
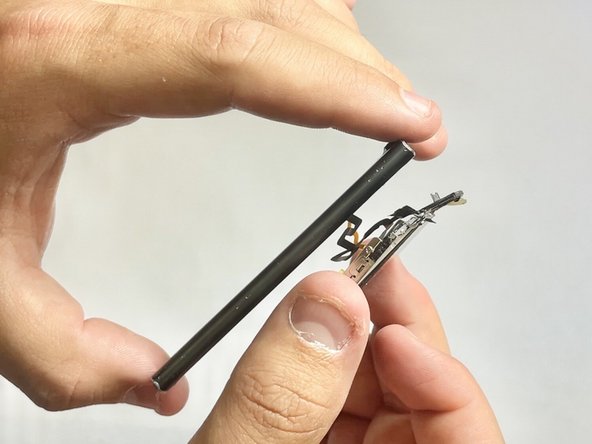
  • Reconnect the screen cable to the motherboard.

  • Ensure it is securely attached.

  • Carefully place the screen back into the casing.

  • Make sure everything fits snugly.

  • Press the screen and back cover together until they click into place.

  • Ensure there are no gaps between the screen and the back cover.

スクリーンのケーブルをマザーボードに接続し直します。

必ずしっかりと接続して下さい。

注意しながらスクリーンをケースに取り付け直します。

全ての部品がピッタリと収まっていることを確認して下さい。

スクリーンと背面カバーを重ねて、パチンという感触とともに所定の位置に納まるまで押し付けて下さい。

スクリーンと背面カバーの間にはどこにも隙間がないことを確認して下さい。

crwdns2944171:0crwdnd2944171:0crwdnd2944171:0crwdnd2944171:0crwdne2944171:0