crwdns2933423:0crwdne2933423:0

2.4ghz remote control helicopter Teardown

crwdns2936315:0crwdne2936315:0
crwdns2936323:0crwdne2936323:0
crwdns2931653:06crwdne2931653:0
2.4ghz remote control helicopter Teardown, PCB Detachment: crwdns2935265:00crwdnd2935265:01crwdnd2935265:03crwdne2935265:0 2.4ghz remote control helicopter Teardown, PCB Detachment: crwdns2935265:00crwdnd2935265:02crwdnd2935265:03crwdne2935265:0 2.4ghz remote control helicopter Teardown, PCB Detachment: crwdns2935265:00crwdnd2935265:03crwdnd2935265:03crwdne2935265:0
PCB Detachment
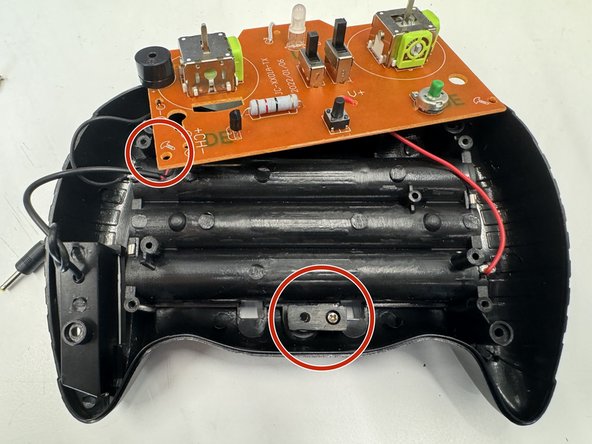
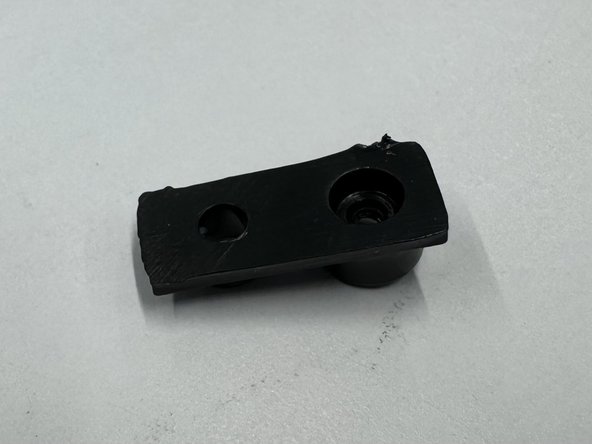
  • Once the press fit components have been removed you will then be able to unscrew 4 screws on the PCB from the back plate letting it loose (these are labeled on the Orange PCB). This then gives access to remove the hex nut and plastic underneath which allows the chaging acess to be screwed securely in place (this step may require pliers).

crwdns2935429:0crwdne2935429:0

crwdns2944171:0crwdnd2944171:0crwdnd2944171:0crwdnd2944171:0crwdne2944171:0