crwdns2931529:0crwdnd2931529:0crwdnd2931529:0crwdnd2931529:016crwdnd2931529:0crwdne2931529:0
crwdns2935425:01crwdne2935425:0
crwdns2931653:01crwdne2931653:0


Remove the charging board cover
-
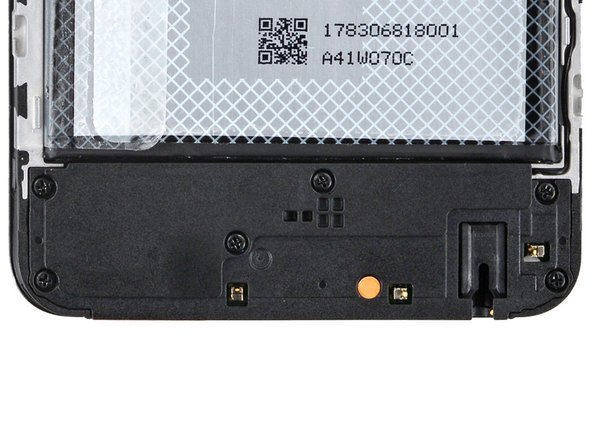
Use a Phillips screwdriver to remove the seven 3.6 mm‑long screws securing the charging board cover.
| [title] Remove the charging board cover | |
| [* icon_caution] Be very careful not to puncture the battery with your screwdriver. | |
| [* red] Use a Phillips screwdriver to remove the seven 3.6 mm‑long screws securing the charging board cover. | |
| - | [* icon_note] The screw near the center of the bottom edge is covered by a sticker. Pierce through it with your screwdriver, or use tweezers to remove it. |
| + | [* icon_note] The screw near the center of the bottom edge is covered by a sticker. Pierce through it with your screwdriver, or use [product|IF145-020|tweezers] to remove it. |
crwdns2944171:0crwdnd2944171:0crwdnd2944171:0crwdnd2944171:0crwdne2944171:0