crwdns2933423:0crwdne2933423:0

Logitech G502 Hero 마더보드 교체

crwdns2931527:0crwdnd2931527:0crwdnd2931527:0crwdnd2931527:0crwdne2931527:0

crwdns2936315:0crwdne2936315:0
crwdns2936325:0crwdne2936325:0
crwdns2931653:04crwdne2931653:0
Logitech G502 Hero Motherboard Replacement: crwdns2935265:00crwdnd2935265:01crwdnd2935265:03crwdne2935265:0 Logitech G502 Hero Motherboard Replacement: crwdns2935265:00crwdnd2935265:02crwdnd2935265:03crwdne2935265:0 Logitech G502 Hero Motherboard Replacement: crwdns2935265:00crwdnd2935265:03crwdnd2935265:03crwdne2935265:0
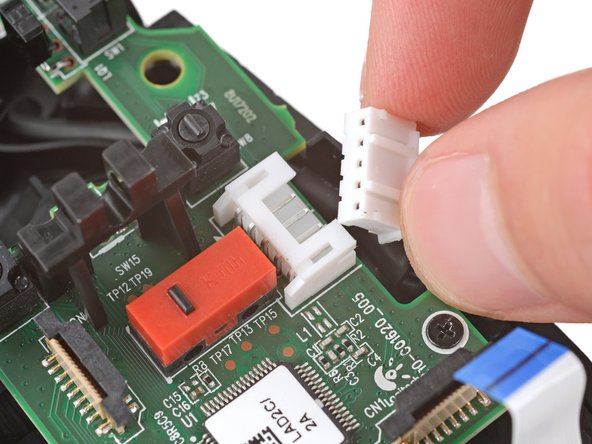
  • Insert each arm of a pair of angled tweezers into the cutouts on the outer edges of the mouse cable connector, located near the edge of the motherboard.

  • Use the tweezers to gently push the connector completely out of its socket.

  • During reassembly, push on the edges of the connector with the flat end of a spudger until the connector slides fully into its socket.

마더보드 가장자리 근처에 있는 마우스 케이블 커넥터 바깥쪽 가장자리에 있는 구멍에 굽은 핀셋의 각 팔을 끼우세요.

핀셋을 살살 사용하여 커넥터를 소켓에서 완전히 밀어내세요.

재조립할 때, 커넥터가 소켓에 완전히 들어갈 때까지 스퍼저의 납작한 끝으로 커넥터의 가장자리를 누르세요.

crwdns2944171:0crwdnd2944171:0crwdnd2944171:0crwdnd2944171:0crwdne2944171:0