crwdns2933423:0crwdne2933423:0

ロジクール Logitech G935 イヤーパッドの交換

crwdns2935425:03crwdne2935425:0

crwdns2936315:0crwdne2936315:0
crwdns2936323:0crwdne2936323:0
crwdns2931653:03crwdne2931653:0
Logitech G935 Ear Pads Replacement, Reassembly information: crwdns2935265:00crwdnd2935265:01crwdnd2935265:03crwdne2935265:0 Logitech G935 Ear Pads Replacement, Reassembly information: crwdns2935265:00crwdnd2935265:02crwdnd2935265:03crwdne2935265:0 Logitech G935 Ear Pads Replacement, Reassembly information: crwdns2935265:00crwdnd2935265:03crwdnd2935265:03crwdne2935265:0
Reassembly information
  • Putting the ear pad on the cup can be tricky. Be patient and work slowly—it may take a couple tries.

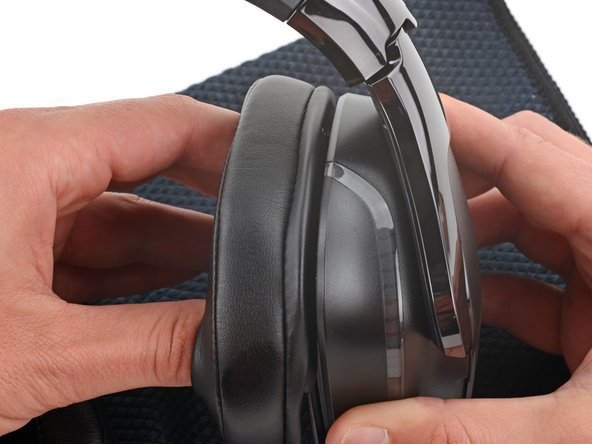
  • To put an ear pad onto its cup:

  • With one hand, firmly hold an ear cup steady.

  • With your free hand, put your fingers into the corresponding ear pad and extend them outwards to stretch the pad.

  • Place the pad over the top of the cup so the fabric flap slides over the cup's plastic lip.

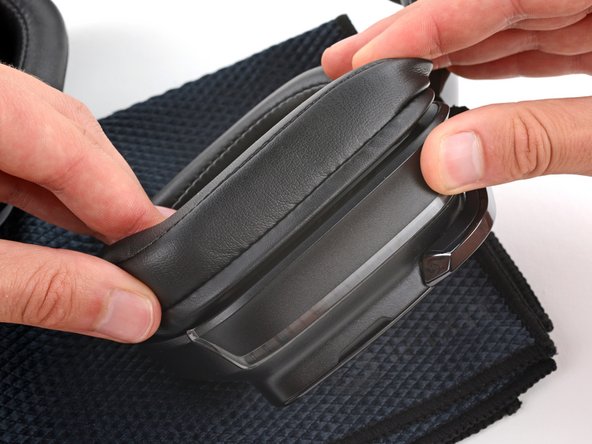
  • Hold the top of the pad firmly in place and thread the rest of the fabric flap over the lip, working your way around the entire cup. Gently stretch the pad as necessary.

  • To prevent the fabric from sliding off its lip, use one hand to secure the section of the pad that's already been put back on.

  • Check the entire perimeter of the cup to make sure the ear pad is fully on. If any of the fabric flap is sticking out, try to push it over the lip or remove the ear pad and try again.

イヤーパッドをカップに装着する作業は難しいです。根気よくゆっくりと作業してください。

イヤーパッドをカップに装着するには

片手でイヤーカップをしっかりと固定します。

空いている方の手で、対応するイヤーパッドに指を入れ、外側に伸ばしてパッドを伸ばします。

パッドをカップの上に置き、布のフラップがカップのプラスチックの淵の上を滑るようにします。

パッドの上部をしっかりと固定し、生地の残りの部分を淵上に通して、カップ全体を一周させます。必要に応じて、パッドをゆっくりと伸ばします。

生地がから淵から滑り落ちないように、片方の手で先に戻したパッドの部分を固定します。

カップの周囲全体をチェックし、イヤーパッドが完全に装着されていることを確認します。生地がはみ出した場合は、淵の上に押し込むか、イヤーパッドを取り外して再度装着してください。

crwdns2944171:0crwdnd2944171:0crwdnd2944171:0crwdnd2944171:0crwdne2944171:0