crwdns2933423:0crwdne2933423:0

PlayStation 4 Slim ハードドライブの交換

crwdns2935425:06crwdne2935425:0

crwdns2936315:0crwdne2936315:0
crwdns2936323:0crwdne2936323:0
crwdns2931653:06crwdne2931653:0
PlayStation 4 Slim Hard Drive Replacement: crwdns2935265:00crwdnd2935265:01crwdnd2935265:02crwdne2935265:0 PlayStation 4 Slim Hard Drive Replacement: crwdns2935265:00crwdnd2935265:02crwdnd2935265:02crwdne2935265:0
  • Place your replacement hard drive or solid-state drive into the caddy.

  • Make sure the drive is upside with the connector's golden pins facing up like so.

  • Also be sure the connector is facing away from the black tape handle. This and the above point will ensure proper connection to the Playstation 4.

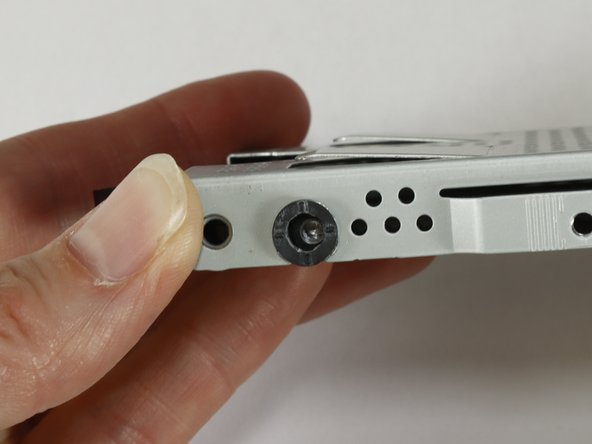
  • If installing a solid-state drive, make sure the screw holes of the sled and the drive are aligned properly before screwing back in.

  • This isn't a problem with 2.5" hard disk drives since the thickness allows for proper alignment during placement.

交換用のハードドライブまたはソリッドステートドライブ(SSD)をキャディに入れます。

コネクタの金色のピンが上を向くように、ドライブが逆さまになっていることを確認します。

また、コネクタが黒いテープの取っ手から反対側に向いていることを確認してください。これと上記のポイントにより、Playstation 4への適切な接続が保証されます。

ソリッドステートドライブ(SSD)を取り付ける場合は、ねじ込む前に、ソリとドライブのねじ穴の位置がきちんと合っていることを確認してください。

2.5インチ ハードディスクドライブの場合は、厚みがあり、設置時に正しい位置合わせが必要なため、このような問題は発生しません。

crwdns2944171:0crwdnd2944171:0crwdnd2944171:0crwdnd2944171:0crwdne2944171:0