crwdns2935425:06crwdne2935425:0
crwdns2931653:06crwdne2931653:0


Putting back the HeatSink
-
Congrats,you applied the new Thermal Paste.Now,to make this guide short,its just what we did,but in reverse.But here is the detailed assembly
-
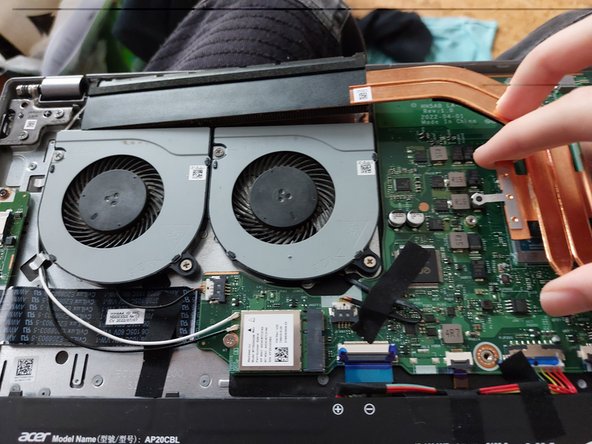
First,put the grid part of the heatsink in its designated place
-
Now,make sure the part of the heatsink that goes over the CPU is over the CPU and the Screw Places are aligned with the holes where the screws are placed
-
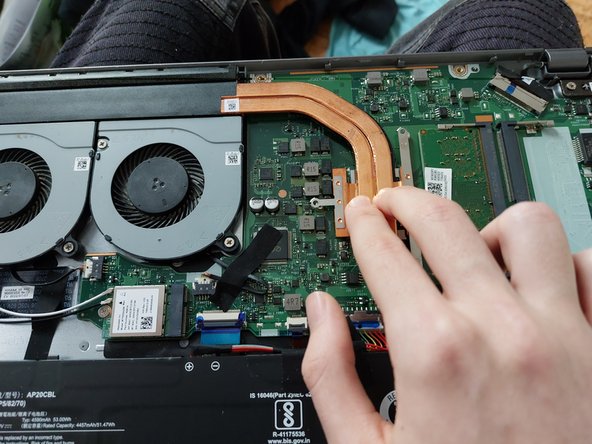
Make sure to apply a bit of pressure over the CPU so that the Thermal Paste can spread over the CPU (Like picture 3)
-
Now that you have done that,put the heatsink screws back in their place and tight them up so that the Heatsink wont get loose and create problems
crwdns2944171:0crwdnd2944171:0crwdnd2944171:0crwdnd2944171:0crwdne2944171:0