crwdns2935425:03crwdne2935425:0
crwdns2931653:03crwdne2931653:0


Secure with a knot
-
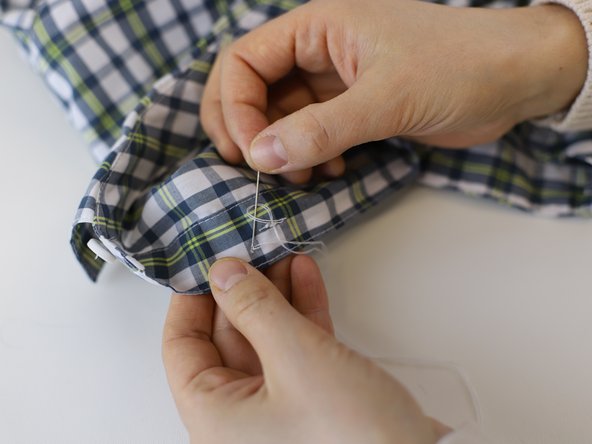
Once the button is secure, it is time to finish the repair on the inside, with a knot.
-
Carefully pass the needle through the loops of thread on the backside of the repair, taking care not to pass it through the fabric itself.
-
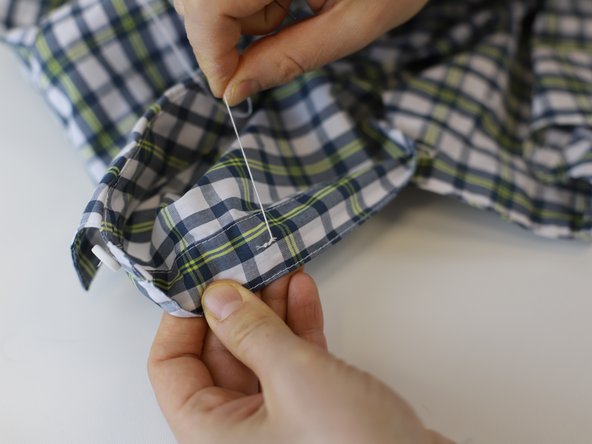
Careful: Do not pull tight! Leave a loop large enough to pass the needle through.
-
Pass the needle through the loop, and now pull tight to create the knot. Repeat this process once more to add a second knot, for extra security.
crwdns2944171:0crwdnd2944171:0crwdnd2944171:0crwdnd2944171:0crwdne2944171:0