crwdns2933423:0crwdne2933423:0

Changement joint croix directionnelle DualShock 4 CUH-ZCT2U

crwdns2936315:0crwdne2936315:0
crwdns2936317:0crwdne2936317:0
crwdns2931653:05crwdne2931653:0
DualShock 4 CUH-ZCT2U D-pad Gasket Replacement: crwdns2935265:00crwdnd2935265:01crwdnd2935265:03crwdne2935265:0 DualShock 4 CUH-ZCT2U D-pad Gasket Replacement: crwdns2935265:00crwdnd2935265:02crwdnd2935265:03crwdne2935265:0 DualShock 4 CUH-ZCT2U D-pad Gasket Replacement: crwdns2935265:00crwdnd2935265:03crwdnd2935265:03crwdne2935265:0
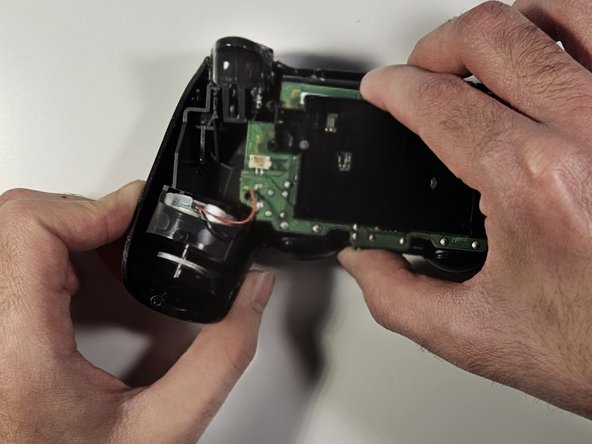
  • Use a spudger to disconnect the red cable from the motherboard under the black plastic the battery was lying on.

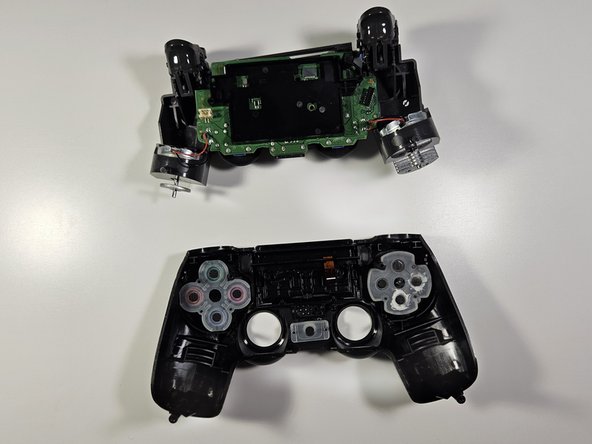
  • Carefully pull apart the front of the controller (the part with the silicon Dpad visible) from the back half.

  • Tweezers were used in the image. However, using metal tools on the internals of your controller can damage them so it is best to avoid using them for prying.

Utilisez une spatule (spudger) pour débrancher le câble rouge de la carte mère sous le plastique noir sur lequel reposait la batterie.

Séparez délicatement la partie avant de la manette (la partie avec la croix directionnelle en silicone visible) de la partie arrière.

Une pincette a été utilisée dans l'image. Cependant, l'utilisation d'outils métalliques sur les composants internes de votre manette peut les endommager, il est donc préférable d'éviter de les utiliser pour faire levier.

crwdns2944171:0crwdnd2944171:0crwdnd2944171:0crwdnd2944171:0crwdne2944171:0