crwdns2931529:0crwdnd2931529:0crwdnd2931529:0crwdnd2931529:04crwdnd2931529:0crwdne2931529:0
crwdns2935425:017crwdne2935425:0
crwdns2931653:017crwdne2931653:0

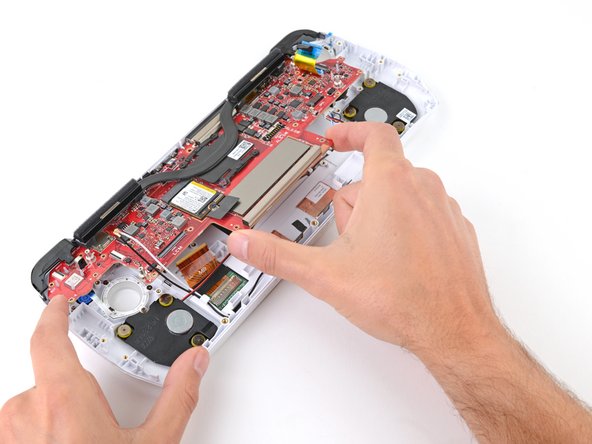


Remove the motherboard
-
With one hand, firmly secure your device.
-
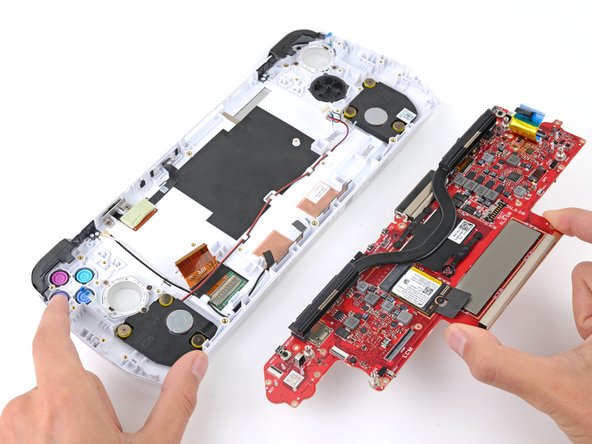
With your free hand, lift the bottom edge of the motherboard and pull it towards the bottom of the chassis to remove it.
-
With one hand, lift the top edge of your device so the actions buttons and D-Pad aren't touching your work surface.
-
Visually check that all the buttons are fully and properly in their recesses. If they aren't, they won't press correctly.
-
With your device lifted, use your free hand to slide the motherboard into place at a slight downward angle.
crwdns2944171:0crwdnd2944171:0crwdnd2944171:0crwdnd2944171:0crwdne2944171:0