crwdns2935425:04crwdne2935425:0
crwdns2931653:04crwdne2931653:0


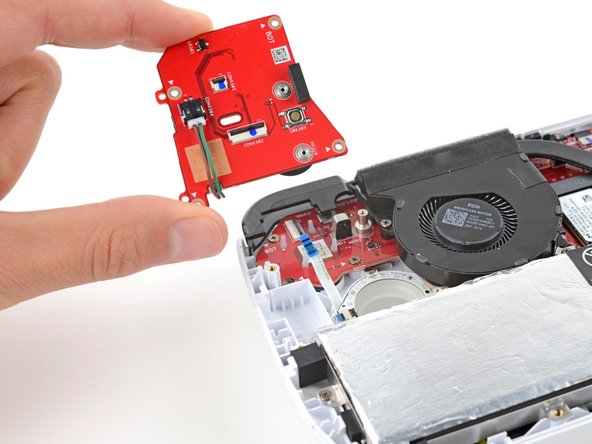


Remove the right thumbstick assembly
-
Insert the flat end of a spudger between the bottom left edge of the thumbstick assembly and the chassis.
-
Pry up the thumbstick assembly and remove it.
-
Orient the board over your device thumbstick side down.
-
Thread the thumbstick ring cable through its cutout on the board.
-
Lift the left edge of your device and push the thumbstick assembly firmly into place so the small circular cutouts on the left edge go over their alignment posts. The board should stay firmly in place.
crwdns2944171:0crwdnd2944171:0crwdnd2944171:0crwdnd2944171:0crwdne2944171:0