crwdns2931529:0crwdnd2931529:0crwdnd2931529:0crwdnd2931529:05crwdnd2931529:0crwdne2931529:0
crwdns2935425:01crwdne2935425:0
crwdns2931653:01crwdne2931653:0

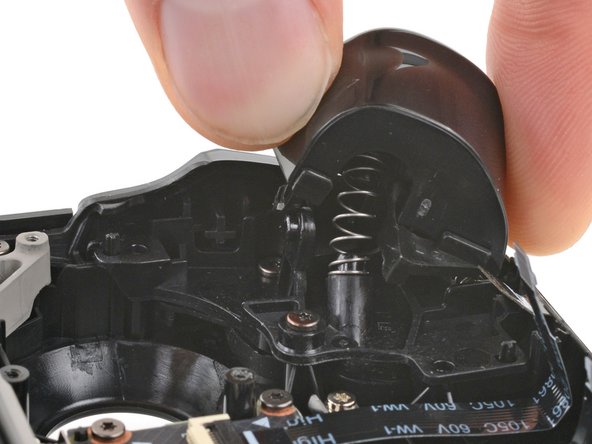


Remove the left trigger
-
Place the flat end of a spudger onto the inside edge of the trigger's left clip.
-
Use your fingers to push the trigger toward the left as you wedge the spudger between the clip and the peg.
-
Use your spudger to pivot the trigger clip out, away, and up from the peg to unlatch it.
-
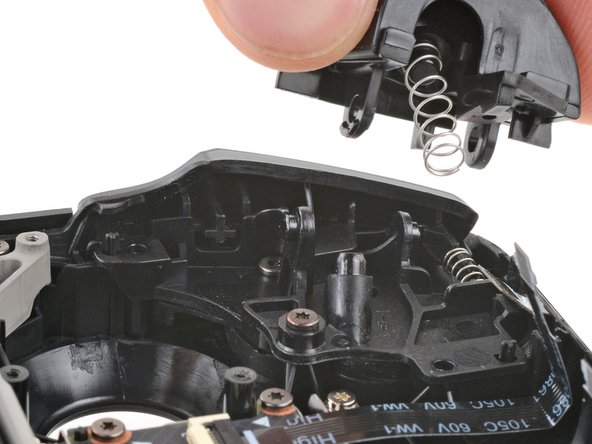
Check to make sure that the trigger spring is properly aligned. Test the trigger action before continuing reassembly.
crwdns2944171:0crwdnd2944171:0crwdnd2944171:0crwdnd2944171:0crwdne2944171:0